
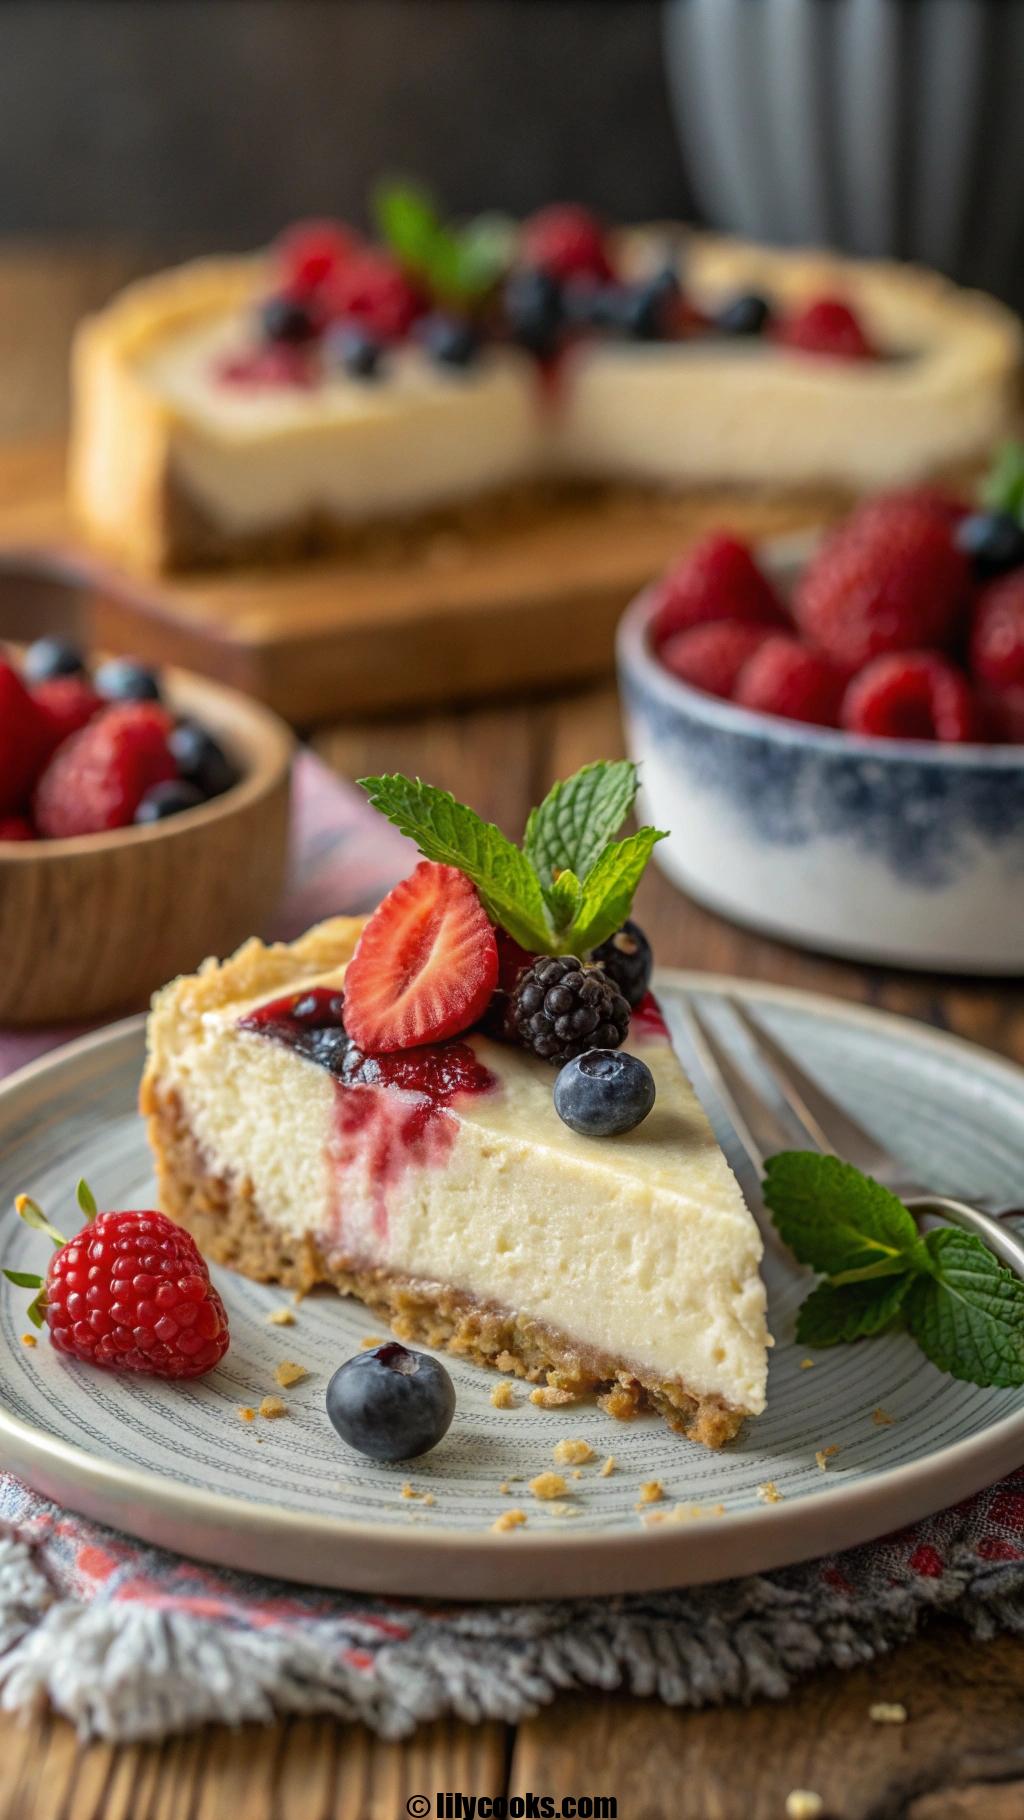
Smooth, creamy, and bursting with a bright, tangy flavor, this no-bake cheesecake is a dessert lover’s dream. Perfect for summer gatherings, holidays, or a cozy night in, this recipe delivers a rich, velvety texture without turning on the oven.
With a buttery graham cracker crust and a luscious filling, it’s simple to whip up and endlessly customizable. Ready to dive into a slice of pure bliss? Let’s get started!
Recipe Overview
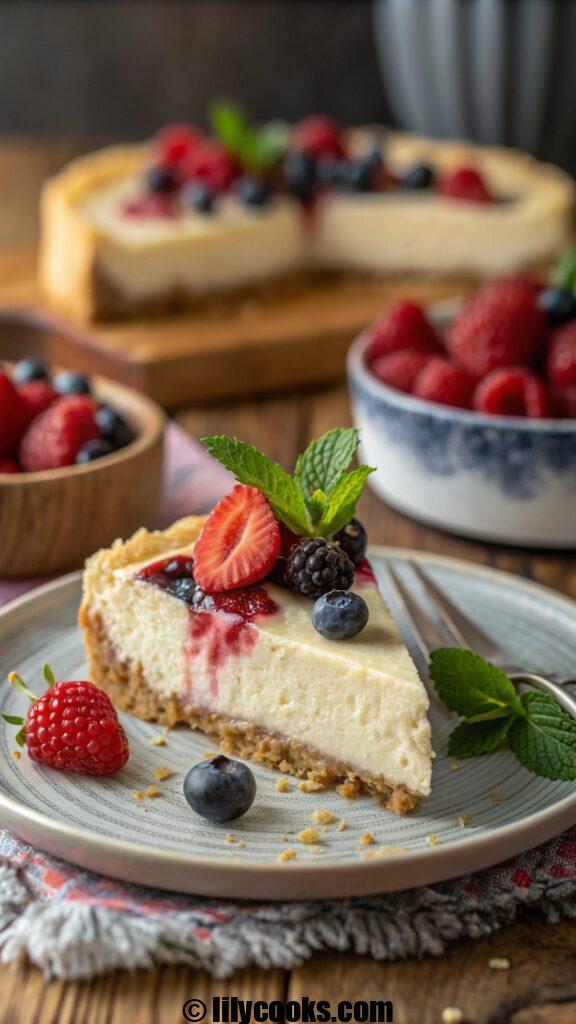
This no-bake cheesecake is a crowd-pleaser with its silky texture and refreshing zing. It’s beginner-friendly, requiring just a few ingredients and no baking skills. The graham cracker crust adds a satisfying crunch, while the creamy filling melts in your mouth. Prep it in 20 minutes, chill, and enjoy a showstopper dessert!
Preparation Time: 20 minutes
Chilling Time: 4 hours
Total Time: 4 hours 20 minutes
Servings: 8-10
Ingredients List
For the Crust:
- 1 ½ cups graham cracker crumbs (about 12 full sheets, finely crushed for a cohesive base)
- ⅓ cup granulated sugar (enhances sweetness and binds the crust)
- ½ cup unsalted butter, melted (creates a rich, sturdy crust that holds together)
For the Cheesecake Filling:
- 16 oz (2 packages) cream cheese, softened (full-fat for maximum creaminess; room temperature ensures smoothness)
- 1 cup powdered sugar (sifts easily for a lump-free filling)
- 1 tsp vanilla extract (pure for the best flavor; adds warmth)
- 1 tbsp fresh lemon juice (brightens the flavor with a tangy kick)
- 1 tsp lemon zest (optional, for extra citrusy aroma)
- 1 ¼ cups heavy whipping cream, cold (whips into stiff peaks for a light, airy texture)
Notes: Use full-fat cream cheese for the richest flavor. Fresh lemon juice is key for that vibrant tang—bottled versions lack the same punch. Cold heavy cream whips faster, so keep it refrigerated until ready.
Step-by-Step Instructions
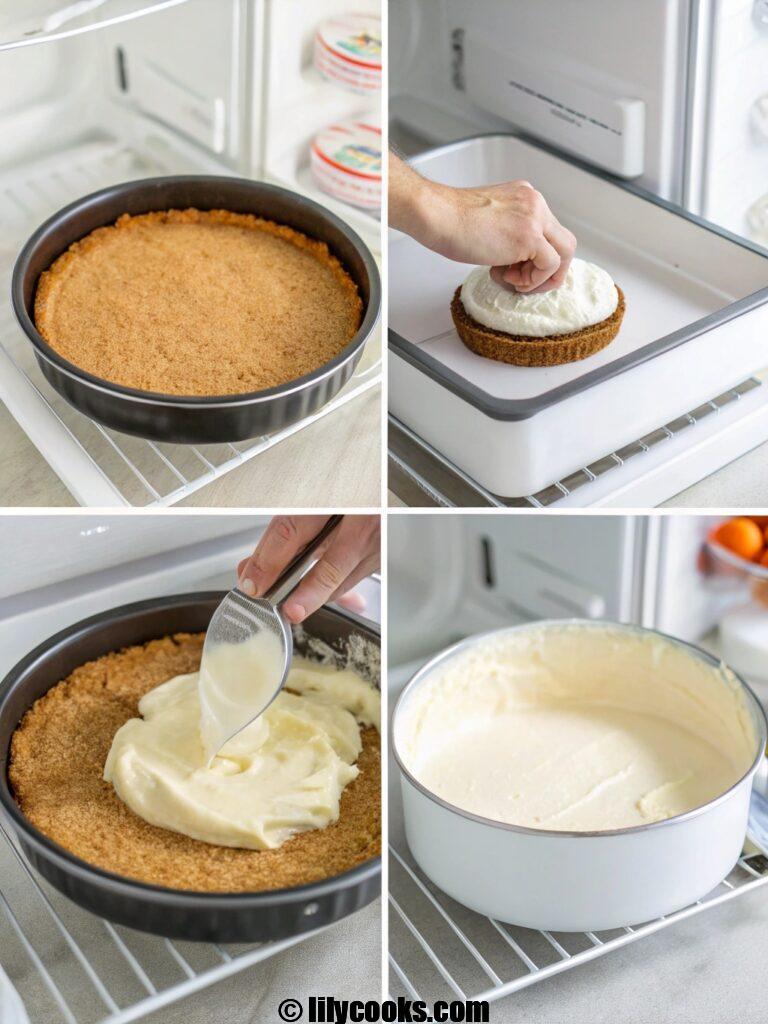
- Prepare the Crust: In a medium bowl, mix graham cracker crumbs, sugar, and melted butter until the texture resembles wet sand. Press firmly into the bottom of an 8- or 9-inch springform pan using a flat-bottomed glass for an even layer. Chill in the fridge for 15 minutes to set. Tip: A chilled crust holds together better when slicing.
- Beat the Cream Cheese: In a large bowl, use an electric mixer to beat softened cream cheese until smooth, about 1 minute. Add powdered sugar, vanilla extract, lemon juice, and lemon zest (if using). Mix until creamy and lump-free. Tip: Scrape down the sides of the bowl to ensure everything is fully combined.
- Whip the Cream: In a separate chilled bowl, whip cold heavy cream on high speed until stiff peaks form, about 2-3 minutes. Gently fold the whipped cream into the cream cheese mixture using a spatula. Fold slowly to keep the airy texture. Tip: Don’t overmix—keep it light for that melt-in-your-mouth feel.
- Assemble the Cheesecake: Pour the filling over the chilled crust, smoothing the top with a spatula. Cover with plastic wrap and refrigerate for at least 4 hours, or overnight for best results. Tip: Overnight chilling enhances the flavor and makes slicing easier.
- Serve and Enjoy: Run a knife around the edges of the pan before releasing the springform. Slice with a warm, clean knife for neat portions. Garnish with fresh berries, whipped cream, or a drizzle of caramel, if desired.
Tips for Success
- Room-Temperature Cream Cheese: Softened cream cheese blends smoothly, avoiding lumps. Leave it out for 30-60 minutes before starting.
- Chill Thoroughly: Don’t rush the chilling process—it’s crucial for the cheesecake to set properly and slice cleanly.
- Even Crust: Press the crust firmly but not too hard to avoid a dense base. Aim for a uniform thickness.
- Clean Slices: Dip your knife in hot water and wipe it dry between cuts for picture-perfect slices.
- Customize Flavors: Swap lemon for lime juice or add a swirl of fruit puree for a fun twist.
Serving Suggestions
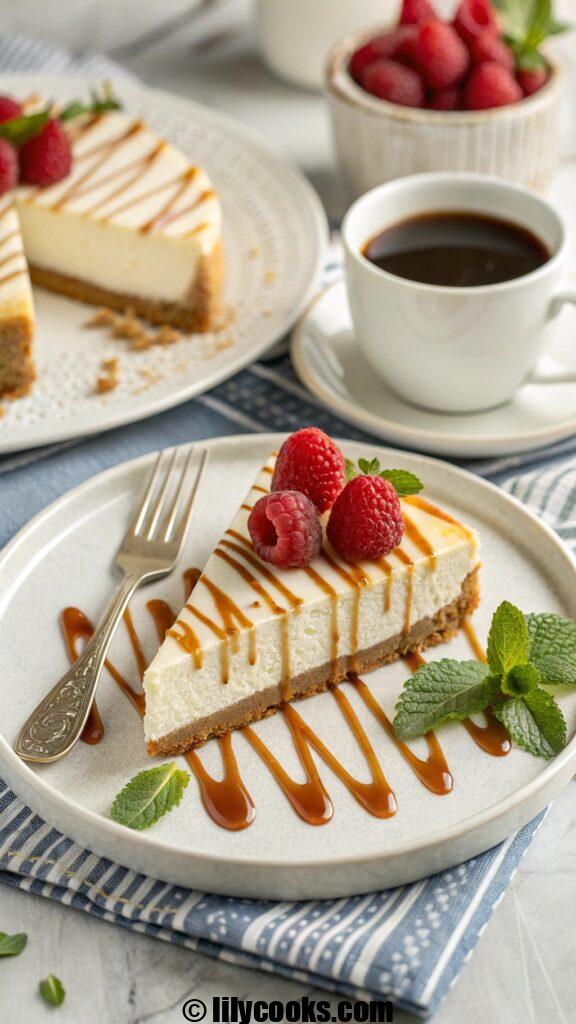
Serve this no-bake cheesecake chilled for the ultimate refreshing treat. Top with fresh strawberries, blueberries, or raspberries for a burst of color and flavor.
Drizzle with chocolate or caramel sauce for decadence. Pair with a cup of coffee or a glass of sparkling wine for an elegant touch. For a stunning presentation, pipe whipped cream rosettes around the edges and sprinkle with edible flowers.
Storage Tips
- Refrigeration: Store covered in the fridge for up to 5 days. Use plastic wrap or an airtight container to prevent absorbing odors.
- Freezing: Wrap tightly in plastic wrap and foil, then freeze for up to 2 months. Thaw in the fridge overnight before serving.
- Room Temperature: Keep at room temp for no more than 2 hours while serving to maintain texture and safety.
FAQs
Can I use low-fat cream cheese?
Yes, but the texture may be less creamy. Full-fat cream cheese gives the richest flavor and smoothest consistency.
Can I make it gluten-free?
Absolutely! Swap graham crackers for gluten-free crumbs or almond flour for a nutty crust.
What if I don’t have a springform pan?
Use a deep-dish pie plate or square pan, but slicing may be trickier. Line with parchment for easier removal.
Can I add fruit to the filling?
Yes, fold in pureed fruit or small chunks after combining the whipped cream, but keep it minimal to avoid a runny texture.
Why is my cheesecake too soft?
It may need more chilling time or firmer whipped cream. Ensure stiff peaks form before folding.
Conclusion
This no-bake cheesecake is your ticket to a stress-free, showstopping dessert that everyone will rave about. With its creamy texture and zesty flavor, it’s bound to become a favorite. Grab your ingredients, whip it up, and share a slice with loved ones. Let me know how it turns out—I can’t wait to hear!
philly cheesecake sliders recipe
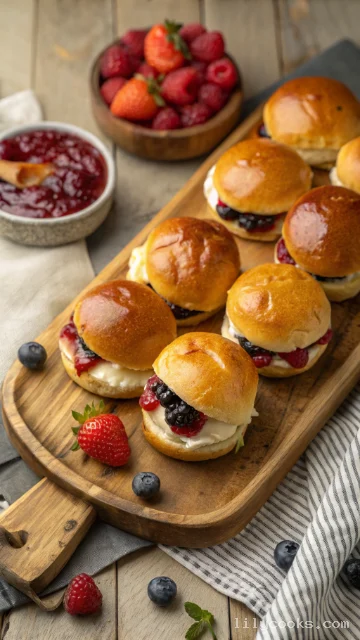
These Philly Cheesecake Sliders deliver the rich, velvety texture of traditional cheesecake in a fun, handheld form. The filling is silky smooth with a subtle tang from the cream cheese, balanced by just the right amount of sweetness. The buns turn warm and slightly toasty in the oven, while the fruit preserves add a gorgeous swirl of color and a burst of fruity flavor in every bite. They come together in under 30 minutes with minimal fuss, making them an absolute winner for both beginner bakers and seasoned pros.
Ingredients
- 12 slider buns (Hawaiian or sweet rolls) – Their soft, slightly sweet texture is the perfect match for the creamy filling. They stay tender after baking and pull apart beautifully.
- 8 oz cream cheese, softened – This is the heart of the cheesecake filling. Make sure it’s at room temperature so it blends into a silky, lump-free mixture. Full-fat cream cheese gives the best richness, but low-fat works too.
- ½ cup powdered sugar – It dissolves instantly into the cream cheese, giving you that smooth, sweet base without any graininess.
- 1 teaspoon vanilla extract – Pure vanilla adds warmth and depth, elevating the simple filling into something truly special.
- ½ cup fruit preserves (strawberry, blueberry, raspberry, or your choice) – These add a bright, fruity contrast to the rich cream cheese. Choose your favorite or mix and match for a beautiful presentation.
- Whipped cream (optional, for serving) – A dollop on top adds an extra touch of elegance and creaminess.
- Whipped cream (optional, for serving) – A dollop on top adds an extra touch of elegance and creaminess.
Instructions
Step 1: Preheat and PrepPreheat your oven to 350°F (175°C). Lightly grease a 9x13-inch baking dish or line it with parchment paper. This keeps the sliders from sticking and makes cleanup a breeze.
Step 2: Make the Cream Cheese FillingIn a medium mixing bowl, beat the softened cream cheese with an electric hand mixer until it’s completely smooth and free of lumps. Add the powdered sugar and vanilla extract, then continue beating until the mixture is light, fluffy, and velvety. Scrape down the sides of the bowl with a spatula to make sure everything is fully incorporated.
Step 3: Slice the BunsTake your slider buns and slice them horizontally in one clean cut, keeping the top and bottom halves intact as a single slab. This makes assembly much faster and neater. Place the bottom half of the buns into your prepared baking dish.
Step 4: Assemble the SlidersSpread the cream cheese mixture evenly over the bottom half of the buns, right to the edges. Next, spoon the fruit preserves over the cream cheese layer and gently swirl them together with the back of a spoon or a small spatula. Place the top half of the buns back on, pressing down lightly.
Step 5: Bake to PerfectionCover the baking dish with aluminum foil. Bake for 15 minutes, then remove the foil and bake for an additional 5–10 minutes, until the sliders are heated through and the tops are lightly golden. Keep an eye on them during the last few minutes so they don’t overbake.
Step 6: Cool and ServeLet the sliders cool in the dish for about 5–10 minutes before serving. This allows the filling to set slightly, making them easier to handle. Serve warm, topped with a swirl of whipped cream if desired.