
Chicken is the ultimate weeknight hero—versatile, budget-friendly, and always delicious.
From quick skillet meals to slow-cooked comfort food, there’s something here for every taste!
Recipe Overview
Flavor: Rich, savory, and perfectly seasoned
Texture: Tender, juicy, with a golden crisp when baked or pan-seared
Ease: Simple ingredients, minimal prep, and foolproof steps
Preparation Time: 10 mins
Cooking Time: 25 mins

Ingredients List
- 1.5 lbs boneless, skinless chicken breasts or thighs (thighs stay juicier)
- 2 tbsp olive oil (for a perfect sear)
- 3 garlic cloves, minced (fresh is best for bold flavor)
- 1 tsp paprika (adds smoky depth)
- 1 tsp dried oregano (herbaceous brightness)
- ½ tsp salt & black pepper (essential for seasoning)
- ½ cup chicken broth (keeps meat moist)
- 1 tbsp lemon juice (bright, tangy finish)
Step-by-Step Instructions
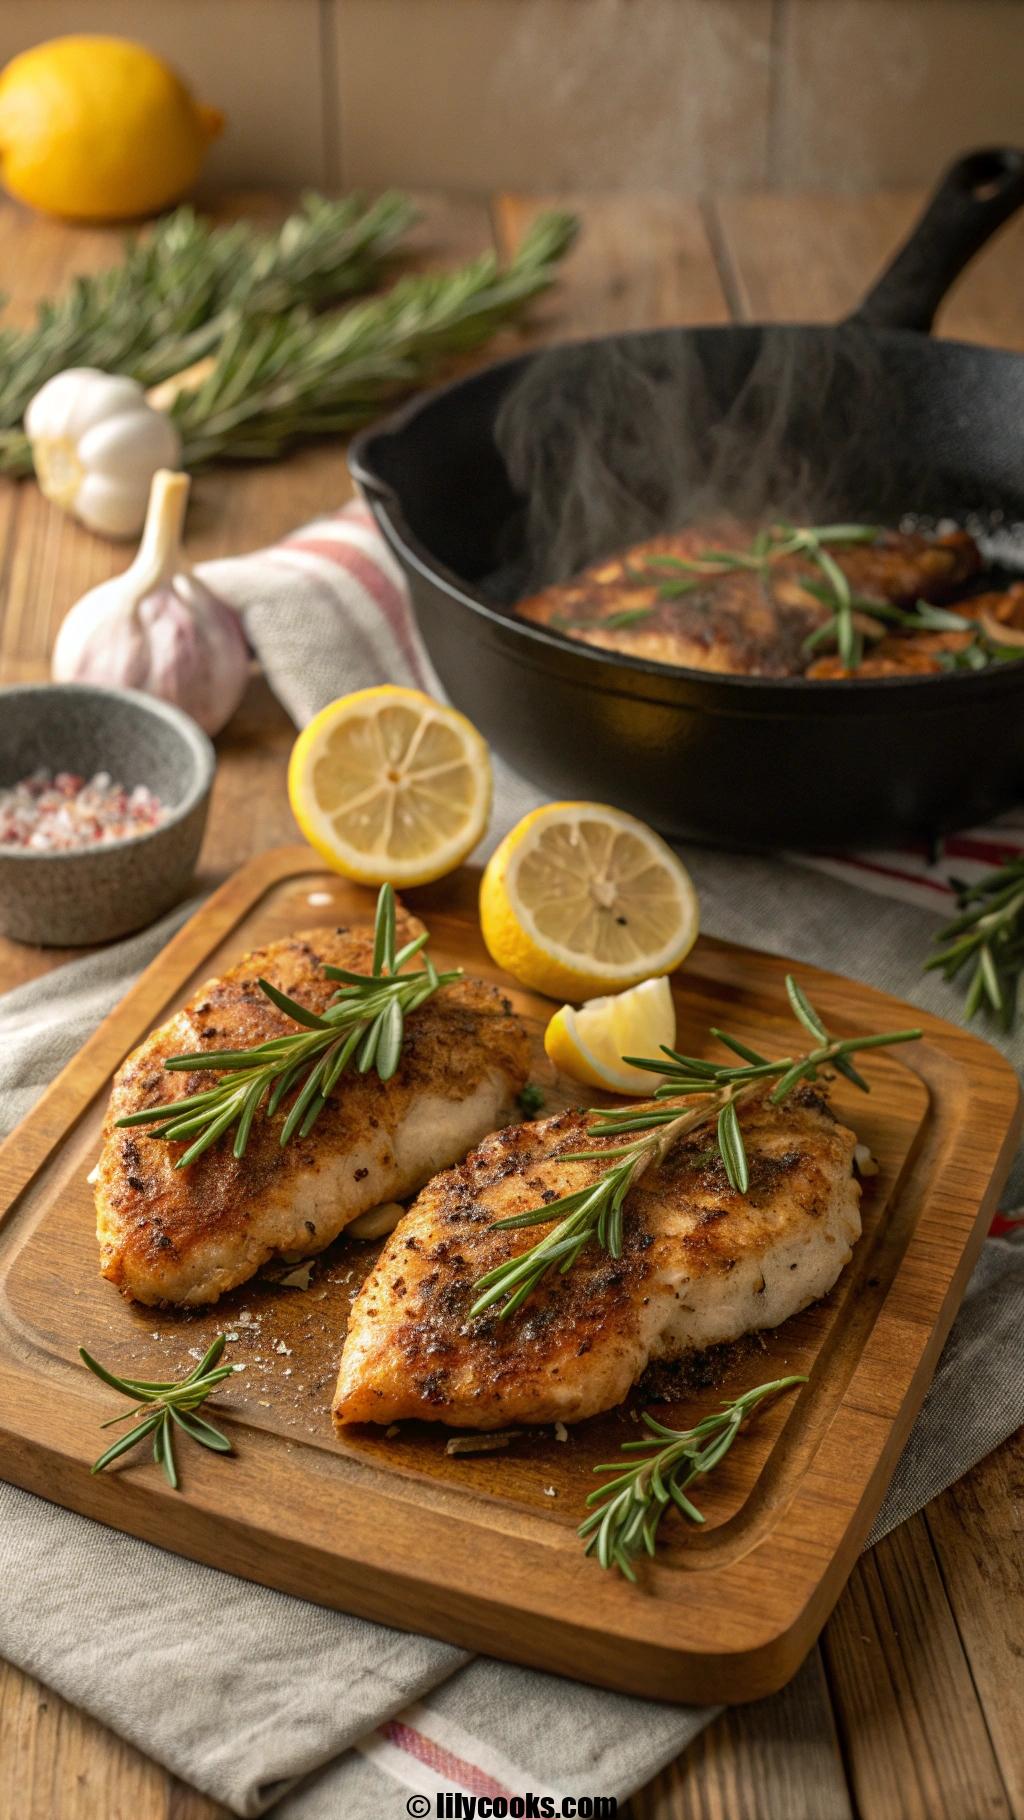
- Prep the Chicken – Pat chicken dry with paper towels for a crispier sear. Season both sides with salt, pepper, paprika, and oregano.
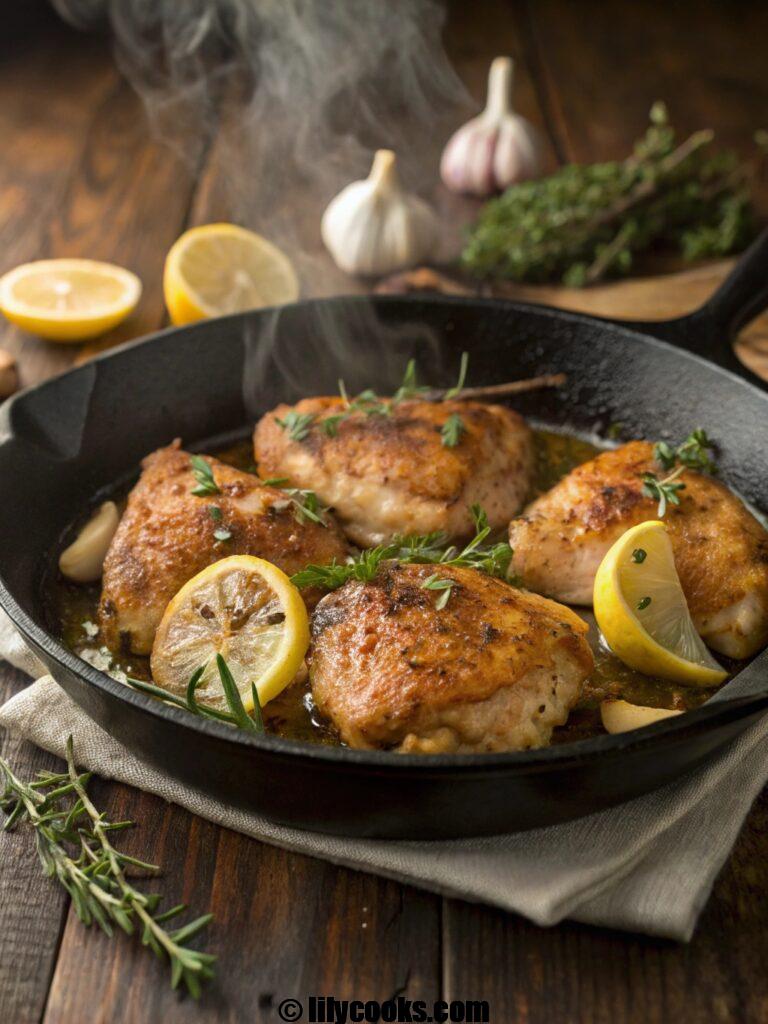
- Sear to Perfection – Heat olive oil in a skillet over medium-high heat. Add chicken and cook 5-6 minutes per side until golden. Remove and set aside.
- Build Flavor – In the same pan, sauté garlic for 30 seconds until fragrant. Pour in chicken broth and lemon juice, scraping up browned bits for extra flavor.
- Simmer & Serve – Return chicken to the pan, reduce heat, and simmer 5-7 minutes until cooked through (165°F internal temp).
Tips for Success
- Don’t overcrowd the pan – Cook in batches for even browning.
- Rest before slicing – Let chicken sit 5 minutes to lock in juices.
- Swap spices – Try cumin or thyme for a different twist.
Serving Suggestions
- Pair with: Garlic mashed potatoes, roasted veggies, or a fresh arugula salad.
- Garnish: Fresh parsley or a lemon wedge for a pop of color.

Storage Tips
- Fridge: Store in an airtight container for up to 3 days.
- Freezer: Keep in freezer bags for 2 months. Thaw overnight before reheating.
FAQs
Can I use chicken tenders instead?
Yes! Adjust cooking time to 3-4 minutes per side since they’re thinner.
What if I don’t have chicken broth?
Water with a splash of soy sauce works in a pinch.
How do I prevent dry chicken?
Avoid overcooking—use a meat thermometer for perfect doneness.
Conclusion
This easy chicken recipe is a guaranteed crowd-pleaser—simple enough for busy nights but flavorful enough for guests. Give it a try and share your delicious results!
No Bake Mini Egg Cheesecake

There’s something magical about the combination of creamy cheesecake and crunchy Mini Eggs—especially when it requires zero baking! This No Bake Mini Egg Cheesecake is the ultimate spring dessert, perfect for Easter, Mother’s Day, or any occasion that calls for a burst of color and indulgence.
Ingredients
- Ingredients List
- For the Biscuit Base:
- 200g digestive biscuits (or graham crackers) – Provides a sturdy, buttery foundation.
- 100g unsalted butter, melted – Binds the crumbs for a perfect crust.
- For the Cheesecake Filling:
- 500g full-fat cream cheese, room temperature – Ensures a smooth, lump-free texture.
- 100g powdered sugar – Dissolves easily for a silky finish.
- 1 tsp vanilla extract – Enhances the creamy flavor.
- 300ml heavy cream, chilled – Whipped to stiff peaks for lightness.
- 150g Cadbury Mini Eggs, roughly crushed – Adds color and crunch.
- For the Topping:
- Extra Mini Eggs and whipped cream (optional) – For a festive finish.
Instructions
- Prepare the Base: Blitz the biscuits into fine crumbs in a food processor (or crush in a bag with a rolling pin). Mix with melted butter until it resembles wet sand. Press firmly into a 20cm springform tin and chill for 15 minutes.
- Make the Filling: Beat the cream cheese, powdered sugar, and vanilla until smooth. In a separate bowl, whip the heavy cream to stiff peaks. Gently fold the whipped cream into the cream cheese mixture until combined, then stir in the crushed Mini Eggs.
- Assemble: Spread the filling over the chilled base, smoothing the top. Chill for at least 4 hours (or overnight) to set.
- Decorate: Before serving, garnish with extra Mini Eggs and a dollop of whipped cream if desired.