
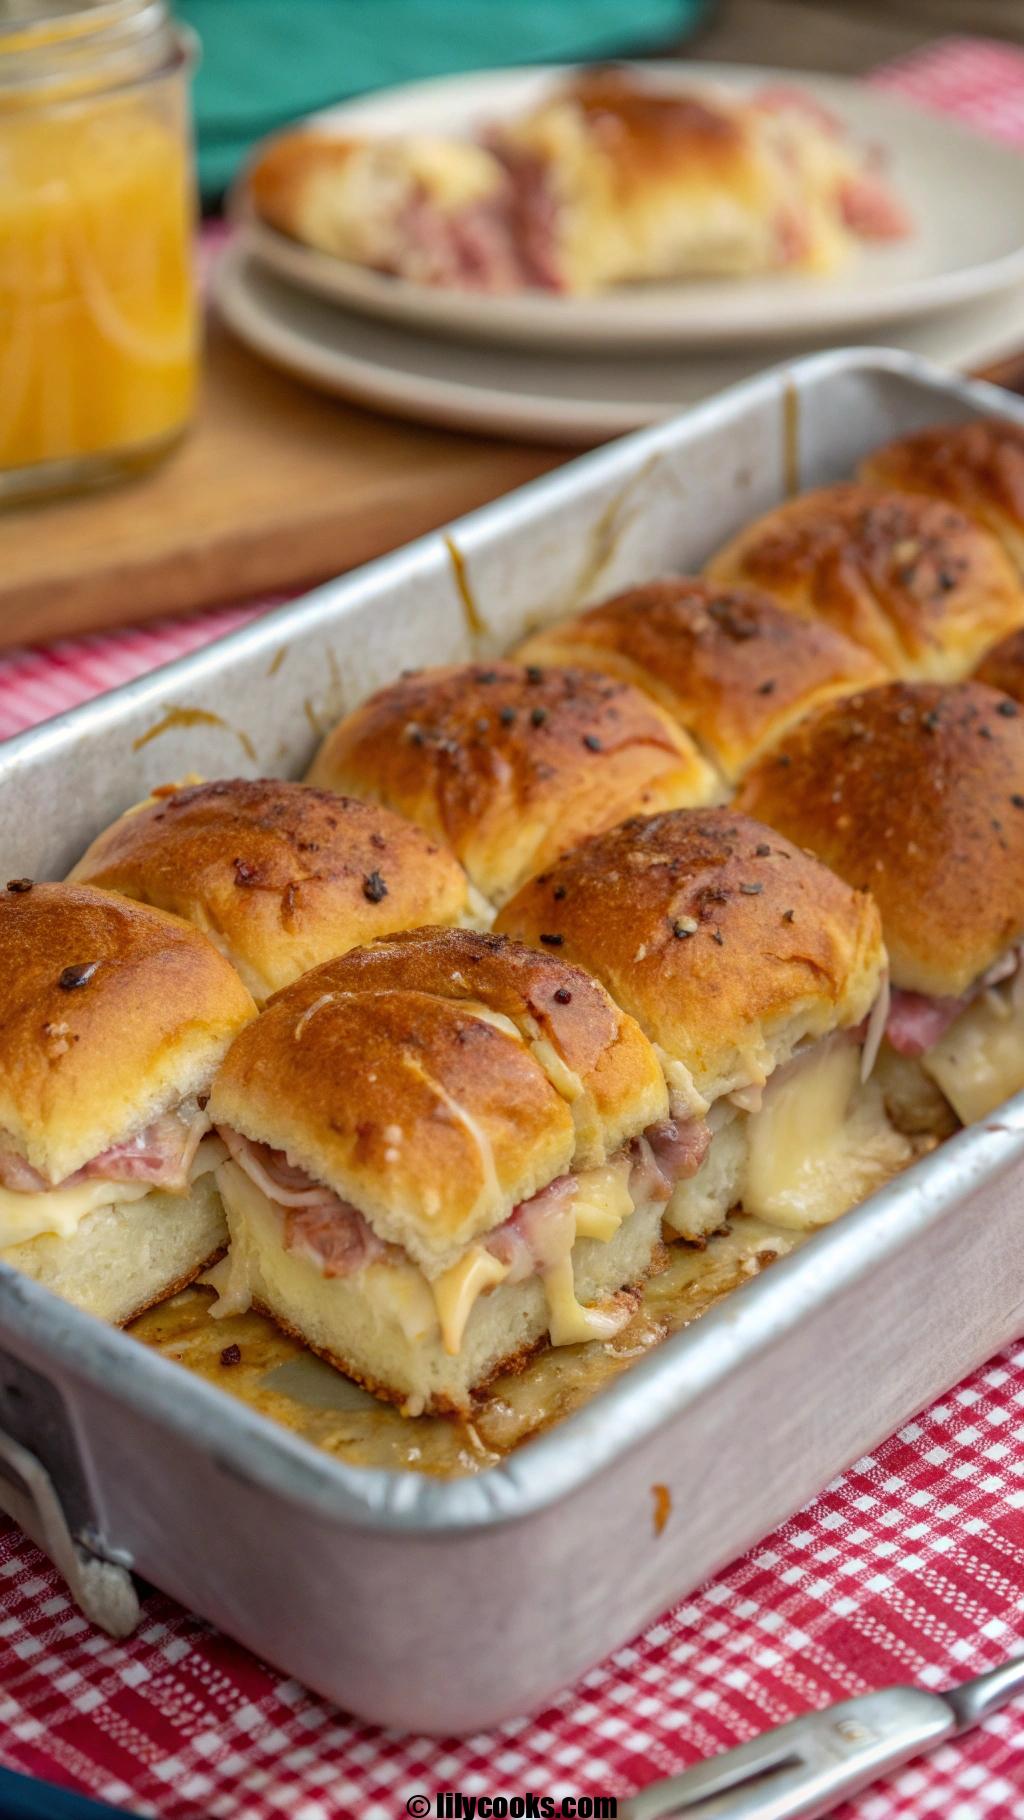
Dive into the gooey, savory delight of ham and cheese sliders, perfect for game days, potlucks, or cozy family dinners. These mini sandwiches pack big flavor with melty cheese, tender ham, and a buttery, golden topping. Quick to whip up and endlessly customizable, they’re a guaranteed hit for kids and adults alike.
Recipe Overview

These ham and cheese sliders deliver a perfect balance of savory ham, creamy Swiss cheese, and a tangy, buttery glaze. Baked to golden perfection, they’re soft, cheesy, and slightly crispy at the edges. Ideal for quick meals or party appetizers, this recipe is simple, budget-friendly, and ready in under 30 minutes.
Ingredients List
- 12 Hawaiian sweet rolls (soft and slightly sweet; perfect for sliders)
- 3/4 lb deli ham, thinly sliced (black forest or honey ham for rich flavor)
- 6 slices Swiss cheese, halved (melty and nutty; cheddar works too)
- 1/4 cup unsalted butter, melted (creates a rich, golden topping)
- 1 tbsp Dijon mustard (adds a tangy kick to the glaze)
- 1 tbsp honey (balances the savory with subtle sweetness)
- 1 tsp Worcestershire sauce (deepens umami flavor)
- 1 tsp poppy seeds (adds texture and visual appeal)
- 1/2 tsp garlic powder (enhances savory notes)
- 1/4 tsp onion powder (complements the ham’s flavor)
- Pinch of salt (enhances overall taste)
Note: Hawaiian rolls add a touch of sweetness, but slider buns or dinner rolls work too. Use high-quality deli ham for the best flavor.
Step-by-Step Instructions
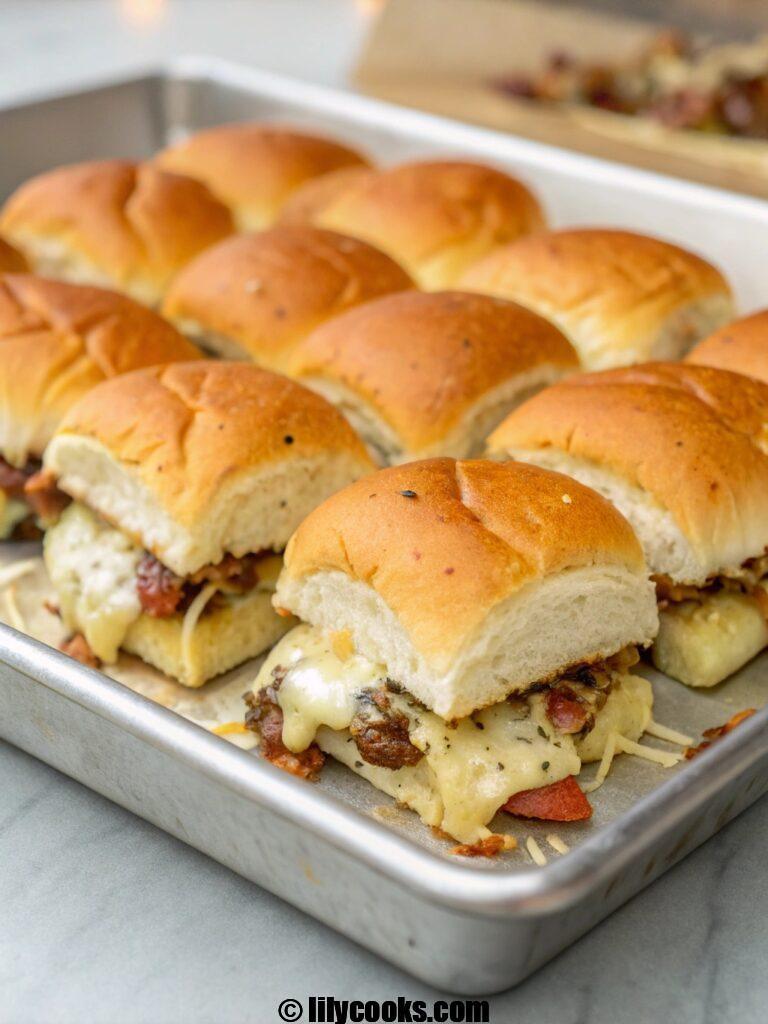
- Preheat oven: Set oven to 350°F (175°C). Line a 9×13-inch baking dish with parchment paper or lightly grease it to prevent sticking.
- Prepare rolls: Without separating, slice the entire pack of Hawaiian rolls horizontally. Place the bottom half in the baking dish. This keeps the sliders uniform and easy to serve. Image generation prompt: A tray of Hawaiian rolls being sliced horizontally, with a serrated knife cutting through soft, golden buns.
- Layer fillings: Evenly layer ham over the bottom rolls, followed by Swiss cheese slices. Cover with the top half of the rolls. Ensure ham is tucked neatly to avoid messy edges.
- Make glaze: In a small bowl, whisk melted butter, Dijon mustard, honey, Worcestershire sauce, poppy seeds, garlic powder, onion powder, and salt until smooth. The glaze should smell buttery and tangy.
- Brush glaze: Generously brush the glaze over the top of the rolls, ensuring it seeps into the crevices. This creates a glossy, flavorful crust.
- Bake: Cover with foil and bake for 10 minutes. Remove foil and bake for 5-7 more minutes until the tops are golden and cheese is melty. Watch closely to avoid over-browning.
- Serve: Let cool for 2 minutes, then slice into individual sliders along the roll lines. Serve warm for maximum gooeyness.
Preparation Time & Cooking Time
- Prep Time: 10 minutes
- Cook Time: 15-17 minutes
- Total Time: 25-27 minutes
Tips for Success
- Use a serrated knife to slice rolls cleanly without squishing them.
- Don’t skimp on the glaze; it adds flavor and keeps sliders moist.
- For extra cheesy sliders, add a second layer of cheese under the ham.
- Check the sliders at 5 minutes after removing foil to prevent burning.
- Double the recipe for a crowd, but use two baking dishes for even cooking.
Serving Suggestions

Serve these sliders hot with a side of potato chips, coleslaw, or a crisp green salad for a balanced meal. Pair with a cold beer or sparkling lemonade for a refreshing contrast. For a fun presentation, stack sliders on a tiered stand or skewer with decorative picks for parties.
Storage Tips
- Room Temperature: Keep sliders out for no more than 2 hours to avoid spoilage.
- Refrigeration: Store in an airtight container or wrap tightly in foil for up to 3 days. Reheat in a 325°F oven for 8-10 minutes.
- Freezing: Wrap individual sliders in plastic wrap and store in a freezer bag for up to 2 months. Thaw in the fridge and reheat in the oven for best texture.
FAQs
Can I use a different cheese?
Swap Swiss for cheddar, provolone, or mozzarella for a different flavor profile. Adjust to taste.
Can I make these vegetarian?
Replace ham with roasted veggies like zucchini or mushrooms and use a vegetarian Worcestershire sauce.
Can I prep these ahead?
Assemble sliders and refrigerate (unglazed) for up to 24 hours. Brush with glaze just before baking.
What if I don’t have Hawaiian rolls?
Use slider buns or dinner rolls. Avoid overly crusty bread to keep the sliders soft.
How do I keep sliders from getting soggy?
Don’t overdo the glaze, and bake uncovered for the last few minutes for a crisp top.
Conclusion
These ham and cheese sliders are your go-to for quick, delicious bites that everyone loves. With their melty cheese and buttery glaze, they’re perfect for any occasion. Give them a try and share your slider moments with us!
indulge in cookies and cream brownies
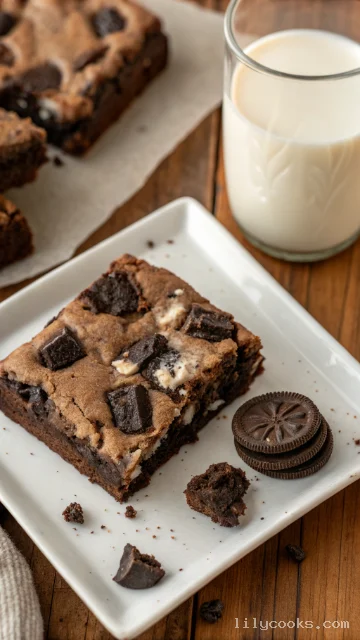
This recipe delivers a fudgy brownie, not a cakey one, giving you that intense, melt-in-your-mouth chocolate experience. The addition of crushed Oreo-like cookies throughout the batter and on top ensures every single square is packed with that iconic cookies and cream flavor and a satisfying textural contrast. The preparation is wonderfully straightforward, making it accessible for bakers of all skill levels. These brownies are designed to be both a quick weeknight treat and a decadent dessert for special occasions.
Ingredients
- 1 cup (2 sticks) unsalted butter, melted: The foundation of our fudgy texture, melted butter creates a dense, chewy brownie.
- 2 cups granulated sugar: Provides sweetness and helps create that signature shiny, crackly top.
- 4 large eggs, at room temperature: Room-temperature eggs emulsify better into the batter, ensuring a smooth and uniform texture.
- 2 teaspoons vanilla extract: A quality vanilla enhances the deep chocolate flavor and adds a touch of warmth.
- 1 cup all-purpose flour: Gives the brownies structure without making them cakey.
- 3/4 cup unsweetened cocoa powder: The heart of the chocolate flavor. Use a good-quality Dutch-process or natural cocoa for the richest taste.
- 1/2 teaspoon salt: A pinch of salt enhances all the flavors and balances the sweetness.
- 1 ½ cups (about 8-10 cookies) coarsely chopped chocolate sandwich cookies (like Oreos): For swirling into the batter and adding that classic crunch.
- For the Topping:
- 1 cup (about 6-7 cookies) coarsely chopped chocolate sandwich cookies: This is scattered on top before baking for a beautiful and delicious finish.
Instructions
- Prep Your Oven and Pan: Preheat your oven to 350°F (175°C). Line a 9x13-inch baking pan with parchment paper, leaving some overhang on the two longer sides. This will make it a breeze to lift the entire batch of brownies out for easy cutting.
- Combine Wet Ingredients: In a large mixing bowl, whisk together the melted butter and sugar until the mixture is well combined and smooth. The butter should not be piping hot, just warm to the touch. Add the room-temperature eggs one at a time, whisking well after each addition. Stir in the vanilla extract.
- Add Dry Ingredients: Gently fold in the flour, cocoa powder, and salt. The key to a fudgy brownie is to mix just until the dry ingredients disappear into the wet mixture. Overmixing at this stage can incorporate too much air and develop gluten, leading to a cakey brownie.
- Fold in the Cookies: Carefully fold the 1 ½ cups of coarsely chopped chocolate sandwich cookies into the batter. Use a spatula to distribute them evenly, ensuring every bite will have a piece of cookie.
- Bake: Pour the thick, glossy batter into your prepared pan, using the spatula to spread it into an even layer. Sprinkle the remaining 1 cup of chopped cookies evenly over the top, gently pressing them into the batter so they adhere.
- Bake and Cool: Bake for 28-32 minutes. The brownies are done when a toothpick inserted into the center comes out with a few moist, fudgy crumbs. It should not come out with wet batter. Allow the brownies to cool completely in the pan on a wire rack before lifting them out and cutting. This cooling period is crucial for the brownies to set and develop their perfect fudgy texture.