
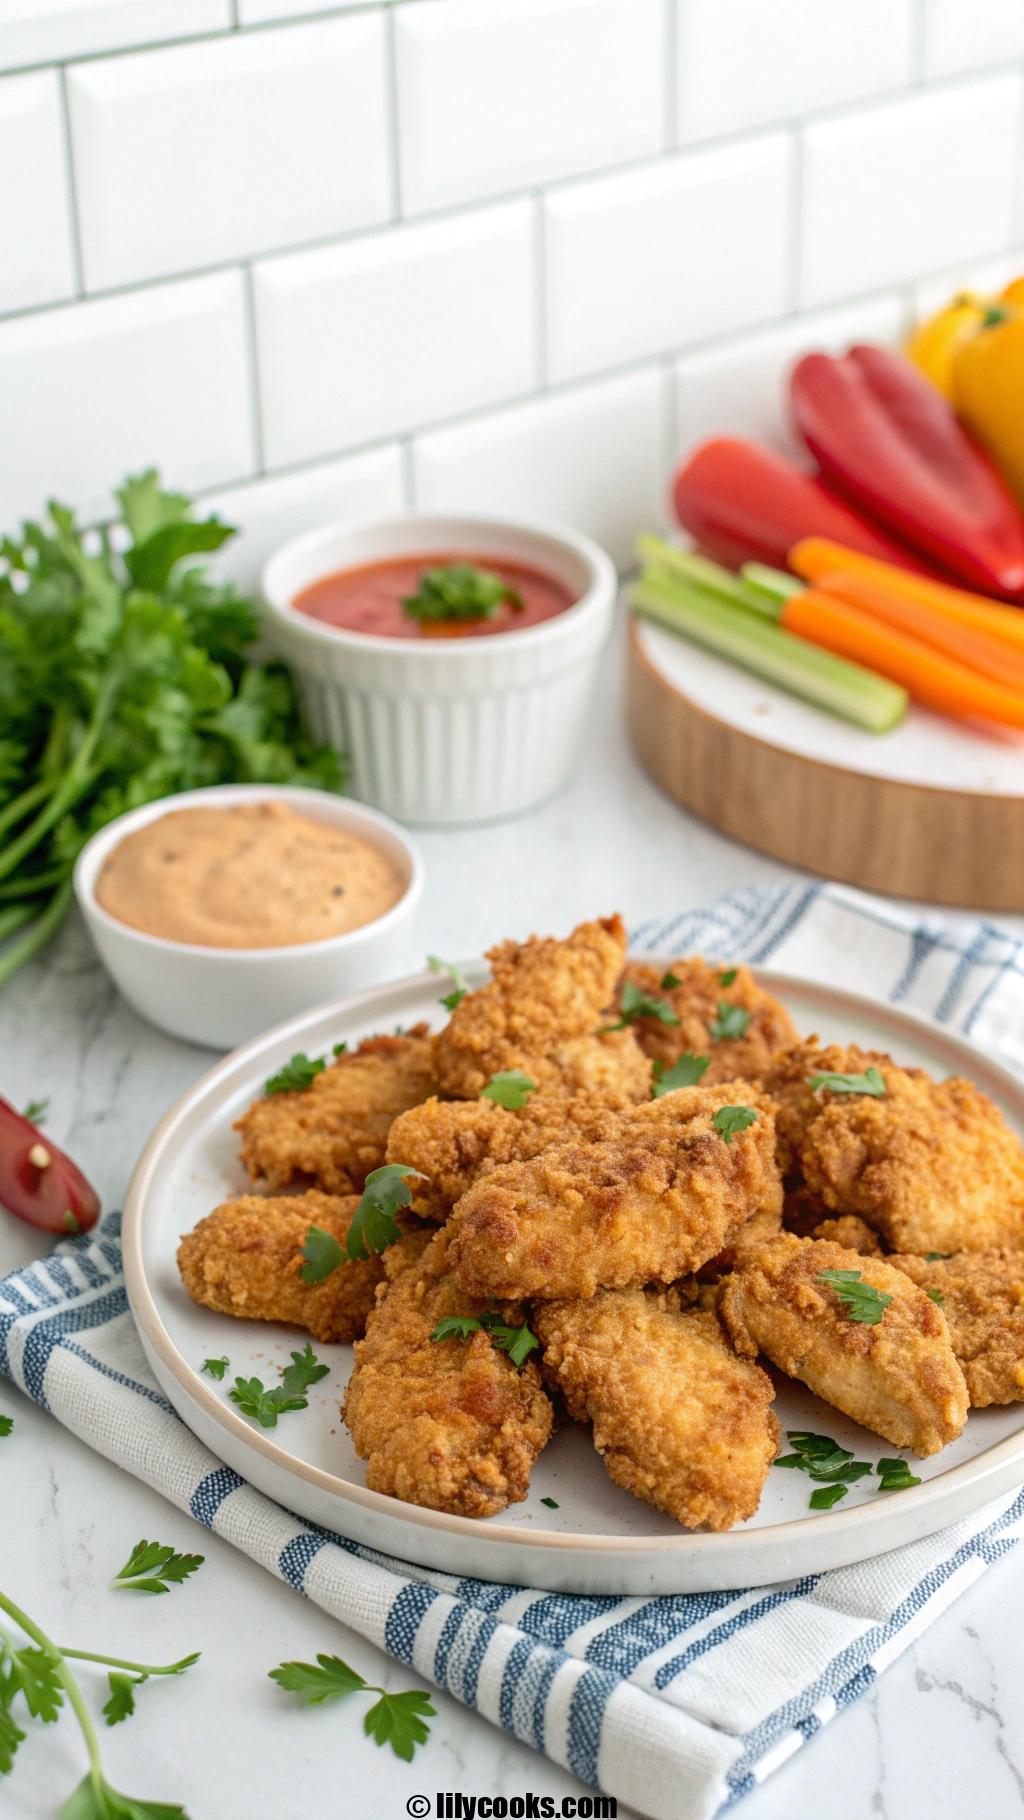
Craving a quick, delicious meal that’s crispy on the outside and juicy inside? These easy air fryer chicken tenders are your answer! Perfect for busy weeknights or a fun family dinner, this recipe delivers golden, crunchy tenders with minimal effort and maximum flavor.
With simple ingredients and the magic of the air fryer, you’ll have a crowd-pleasing dish ready in under 30 minutes. Let’s fire up the air fryer and make these irresistible tenders!
Recipe Overview
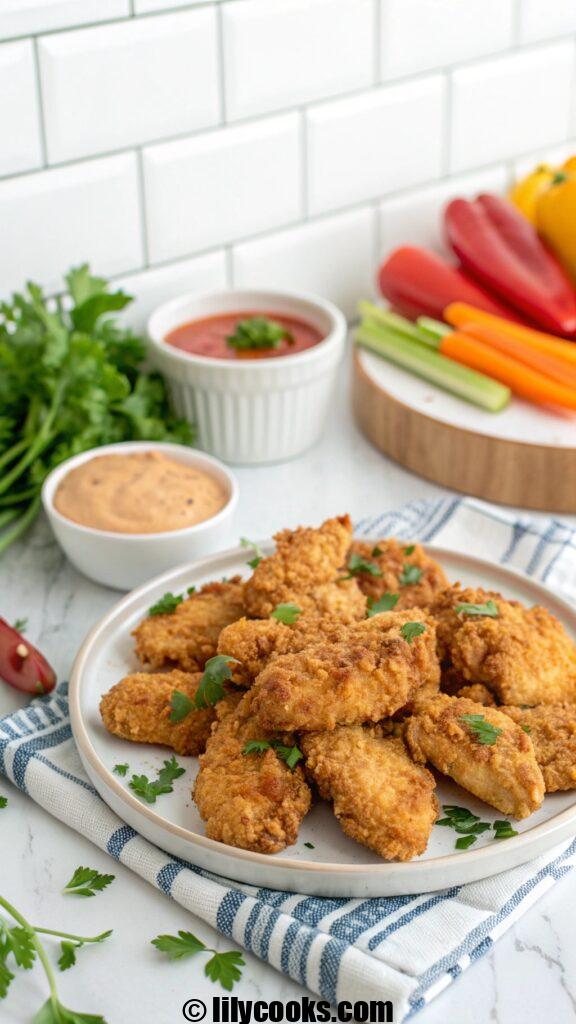
These air fryer chicken tenders boast a crispy, golden coating with tender, juicy chicken inside. Seasoned with a savory blend of spices, they’re full of flavor and take just 10 minutes to prep and 12 minutes to cook. Ideal for beginners or seasoned cooks, this recipe is quick, healthy, and versatile, perfect for pairing with your favorite dips or sides.
Preparation Time: 10 minutes
Cooking Time: 12 minutes
Total Time: 22 minutes
Ingredients List
- 1 lb (450g) chicken tenderloins: Tender, lean cuts ensure juicy results; fresh is best.
- 1 cup (100g) panko breadcrumbs: Creates a light, ultra-crispy coating.
- ½ cup (50g) all-purpose flour: Helps the coating stick to the chicken.
- 2 large eggs, beaten: Acts as a glue for the breadcrumb coating.
- 1 tsp garlic powder: Adds savory depth to the seasoning.
- 1 tsp paprika: Brings a mild smokiness and vibrant color.
- ½ tsp onion powder: Enhances flavor with a subtle sweetness.
- ½ tsp salt: Balances and boosts the overall taste.
- ¼ tsp black pepper: Adds a slight kick.
- 1 tbsp olive oil: Lightly coats the tenders for crispiness without deep frying.
- Optional: Fresh parsley, chopped: Adds a fresh, colorful garnish.
Note: Panko breadcrumbs give the best crunch, but regular breadcrumbs work in a pinch. Fresh chicken tenderloins ensure the juiciest texture.
Step-by-Step Instructions
- Preheat the air fryer to 400°F (200°C). This ensures even cooking and maximum crispiness.
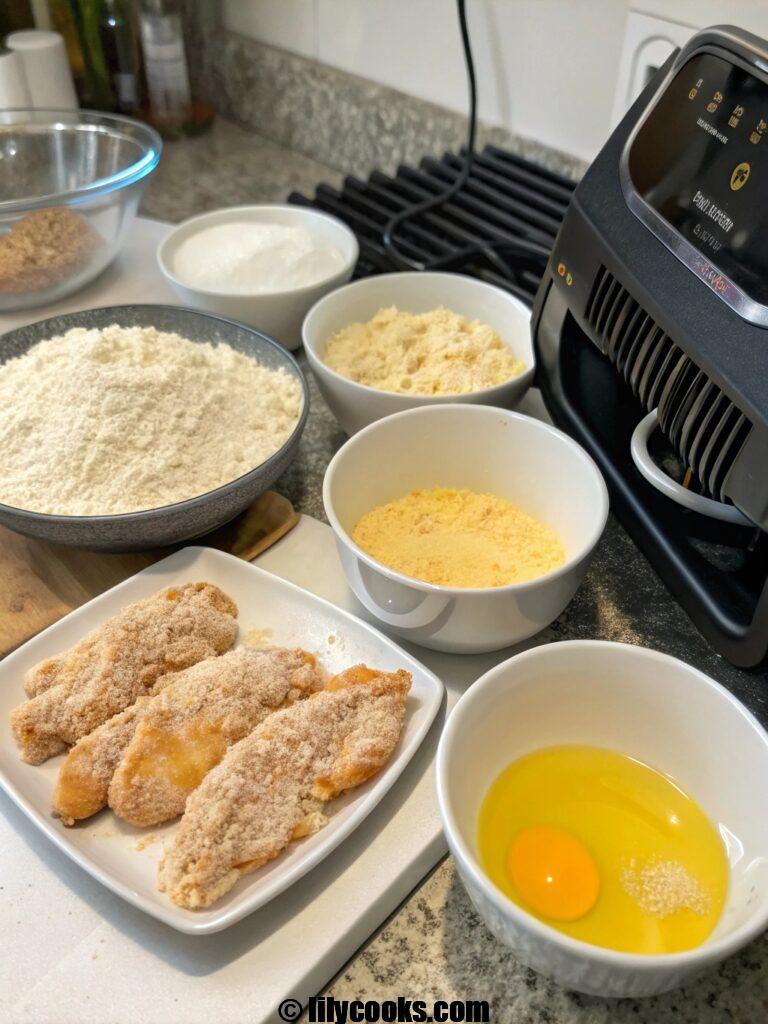
- Set up a breading station. Place flour in one shallow bowl, beaten eggs in another, and panko mixed with garlic powder, paprika, onion powder, salt, and pepper in a third.
- Coat the chicken. Pat chicken tenderloins dry with paper towels. Dredge each tender in flour, shaking off excess, then dip in egg, and finally coat thoroughly in the panko mixture.
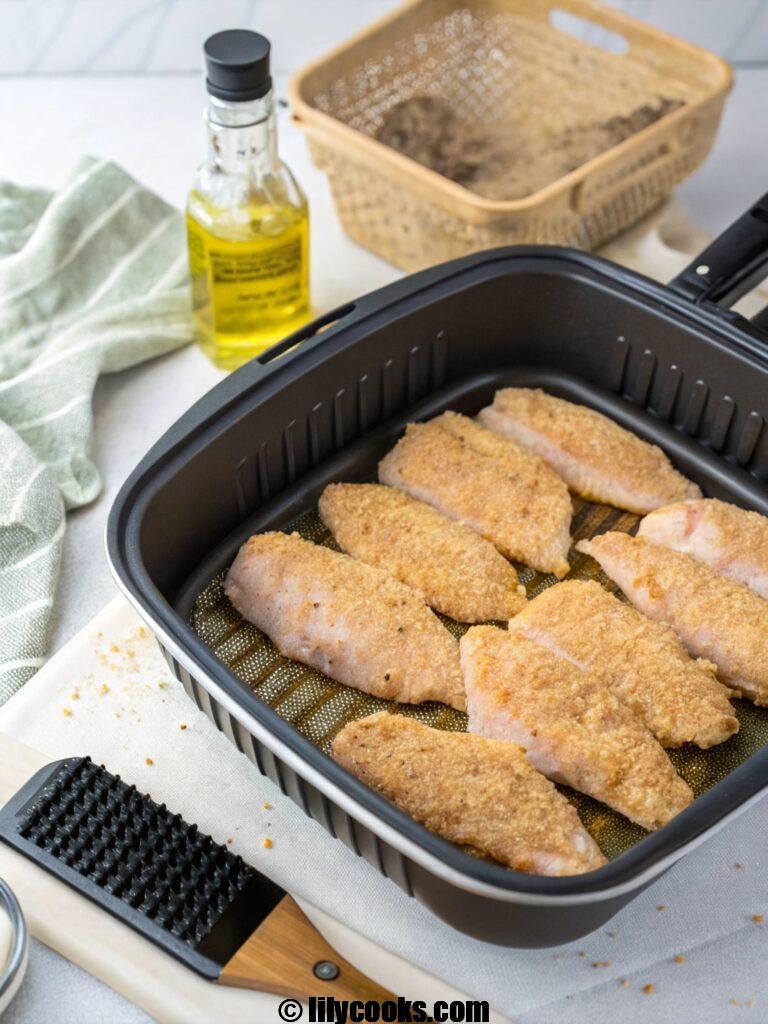
- Prepare for air frying. Lightly brush or spray the tenders with olive oil to enhance crispiness. Arrange them in a single layer in the air fryer basket, avoiding overlap.
- Cook the tenders. Air fry for 10-12 minutes, flipping halfway through, until golden brown and the internal temperature reaches 165°F (74°C). Cook in batches if needed.
- Garnish and serve. Transfer tenders to a plate, sprinkle with parsley for a fresh touch, and serve hot with your favorite dipping sauce.
Tips for Success
- Pat chicken dry: This helps the coating adhere better for a crispier result.
- Don’t overcrowd the basket: Cook in batches to ensure even air circulation and crispiness.
- Check temperature: Use a meat thermometer to confirm the chicken reaches 165°F (74°C).
- Shake the basket: Gently shake or flip halfway through cooking for even browning.
- Use oil sparingly: A light spray or brush of oil ensures crispiness without greasiness.
Serving Suggestions
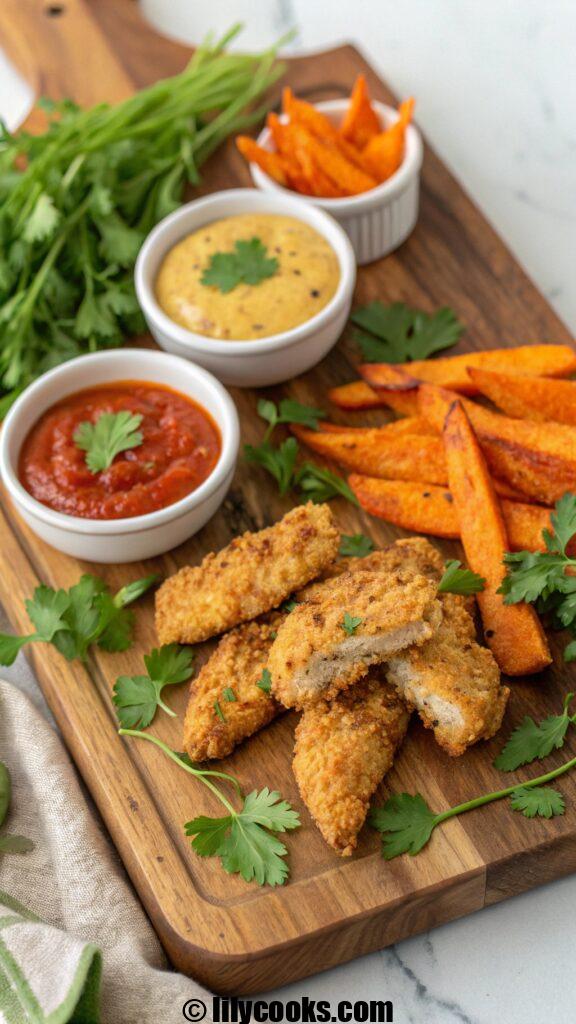
Serve these air fryer chicken tenders hot with a side of honey mustard, ranch, or spicy sriracha mayo for dipping. Pair with a crisp cucumber salad or sweet potato fries for a balanced meal. For a fun twist, slice and add to wraps or salads. Present on a wooden board with colorful dips and garnishes for a vibrant, shareable spread.
Storage Tips
- Room temperature: Keep cooked tenders at room temperature for up to 2 hours.
- Refrigeration: Store in an airtight container in the fridge for up to 3 days. Reheat in the air fryer at 350°F (175°C) for 5 minutes to restore crispiness.
- Freezing: Freeze cooked tenders in a freezer-safe bag for up to 2 months. Thaw in the fridge and reheat in the air fryer.
FAQs
Can I use chicken breast instead of tenderloins?
Yes, slice chicken breast into strips for similar results. Adjust cooking time slightly if thicker.
Can I make this gluten-free?
Swap flour for gluten-free flour and use gluten-free panko or crushed gluten-free cereal.
What if I don’t have an air fryer?
Bake at 425°F (220°C) on a wire rack for 15-20 minutes, flipping halfway.
Can I add different seasonings?
Try Cajun spice for heat or Italian herbs for a Mediterranean twist.
Why aren’t my tenders crispy?
Ensure you don’t overcrowd the basket and use a light oil coating for best results.
Conclusion
These easy air fryer chicken tenders are a game-changer for quick, delicious meals. With their crispy coating and juicy center, they’re sure to win over your family. Whip them up tonight and share your tasty results with us!
herb crusted rack of lamb recipe
This recipe focuses on creating a balance of textures and flavors. You get a flavorful, crunchy, and aromatic crust from a simple blend of fresh herbs, garlic, and buttery breadcrumbs that perfectly complements the rich, delicate flavor of the lamb. The preparation is straightforward, making this an achievable yet impressive dish. With just a few key steps—searing the lamb to lock in flavor and roasting it to your desired doneness—you'll have a main course that is both visually stunning and incredibly delicious. The entire process feels special, from the moment you press the vibrant green crust onto the meat to the final, beautiful slicing.
Ingredients
- For the Lamb:
- 1 (about 1.5 to 2-pound) Frenched rack of lamb, 8 ribs
- 2 tablespoons extra-virgin olive oil
- Salt and freshly ground black pepper
- For the Herb Crust:
- 1 cup fresh breadcrumbs (from a good-quality loaf, not pre-seasoned)
- ¼ cup fresh flat-leaf parsley leaves, finely chopped
- 2 tablespoons fresh rosemary leaves, finely chopped
- 2 tablespoons fresh thyme leaves, finely chopped
- 2 cloves garlic, minced (about 2 teaspoons)
- 2 tablespoons unsalted butter, melted
- 2 tablespoons Dijon mustard
Instructions
Step 1: Prepare the Lamb and OvenTake your rack of lamb out of the refrigerator about 30-45 minutes before you plan to cook it. This allows it to come to room temperature, which ensures more even cooking. While you wait, preheat your oven to 425°F (220°C). Pat the lamb rack dry very thoroughly with paper towels. This is a crucial step for getting a good sear. Season all over generously with salt and freshly ground black pepper.
Step 2: Sear the LambHeat the 2 tablespoons of olive oil in a large, oven-safe skillet over medium-high heat. Once the oil is shimmering, carefully place the lamb rack in the pan, fat-side down. Sear for 3-4 minutes, until the fat is beautifully golden brown and crispy. Use tongs to flip and sear the other side for 2-3 minutes, and do the same for the ends to render any extra fat. The goal is a deep, rich color on all sides.
Step 3: Make the Herb CrustWhile the lamb is searing, combine the fresh breadcrumbs, chopped parsley, rosemary, thyme, and minced garlic in a small bowl. Pour in the melted butter and mix until the crumbs are evenly moistened. The fresh herbs are the soul of this dish, providing a bright, aromatic contrast to the rich meat. The butter helps the crust bind together and become gloriously golden in the oven.
Step 4: Apply the Crust and RoastRemove the skillet from the heat. Using a brush or a small spatula, generously coat the entire top (fat side) and sides of the seared lamb with the Dijon mustard. The mustard acts as a fantastic adhesive for the crust and adds a subtle tang that cuts through the richness of the lamb. Now, firmly press the herb-breadcrumb mixture onto the mustard-coated areas. It should cling to the meat, forming a thick, even layer. Transfer the skillet to the preheated oven.
Step 5: Roast to PerfectionRoast the lamb for 15-25 minutes, depending on your desired level of doneness. For a perfect medium-rare (which we highly recommend for the most tender and flavorful meat), roast until an instant-read thermometer inserted into the thickest part of the meat reads 130°F (54°C). The internal temperature will continue to rise a bit as it rests.
Step 6: The Crucial RestThis is the most important step you cannot skip. Remove the skillet from the oven and carefully transfer the lamb to a cutting board. Tent it loosely with aluminum foil and let it rest for at least 10 minutes. This allows the juices to redistribute evenly throughout the meat, resulting in a tender, moist, and flavorful cut. If you cut into it immediately, all those delicious juices will run out onto the board, leaving the lamb dry.