
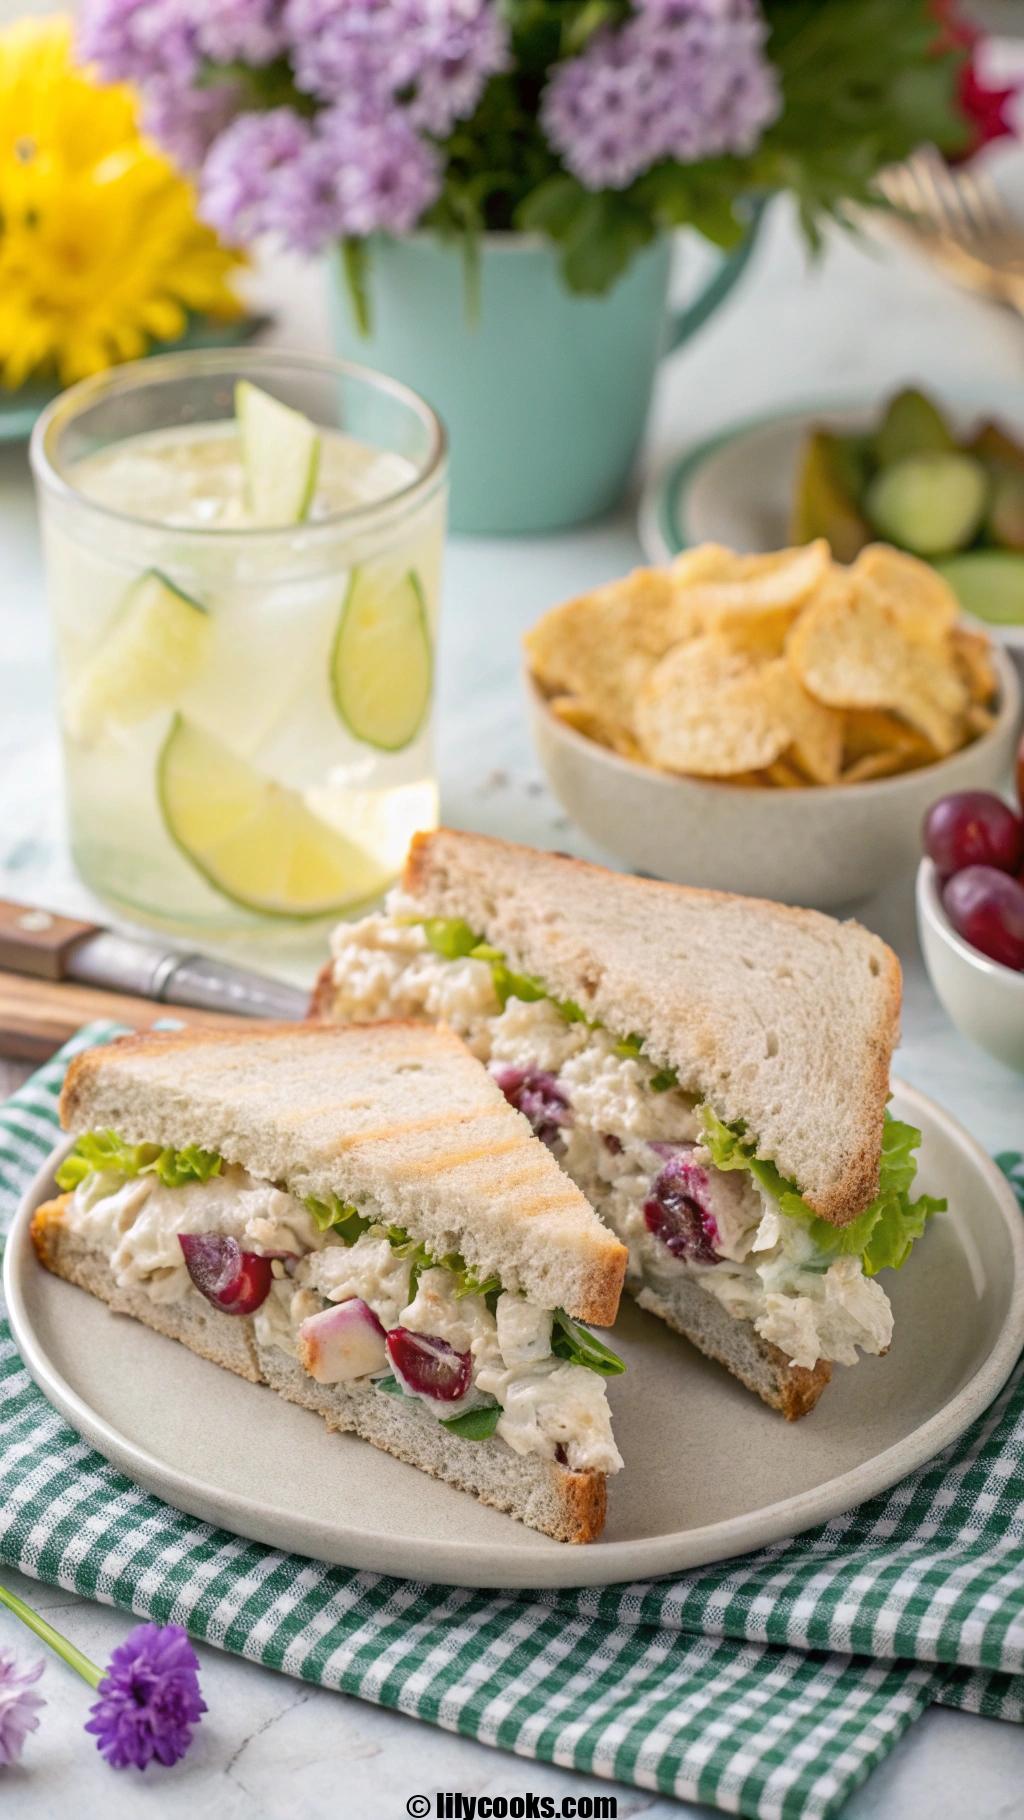
Nothing beats the comfort of a chicken salad sandwich—it’s creamy, crunchy, and bursting with flavor, perfect for a quick lunch, picnic, or light dinner. This timeless recipe combines tender chicken, crisp veggies, and a zesty dressing, all nestled between soft bread.
Its versatility makes it a crowd-pleaser, adaptable to your favorite add-ins or bread choices. Readers will love how easy it is to whip up and how it transforms simple ingredients into a satisfying meal.
Recipe Overview
This chicken salad sandwich delivers a creamy texture with pops of crunch from celery and a bright, tangy kick from fresh lemon juice. It’s quick to prepare, requiring just 15 minutes of prep time, with no cooking if you use pre-cooked chicken. The balance of savory chicken, sweet grapes, and zesty dressing makes every bite irresistible.
Preparation Time: 15 minutes
Cooking Time: 0 minutes (assuming pre-cooked chicken)
Total Time: 15 minutes
Servings: 4 sandwiches
Ingredients List
- 2 cups cooked chicken breast, shredded or diced (rotisserie chicken works wonderfully for convenience and flavor)
- 1/2 cup mayonnaise (use full-fat for richness or light for a healthier twist)
- 1/4 cup celery, finely chopped (adds a crisp, refreshing crunch)
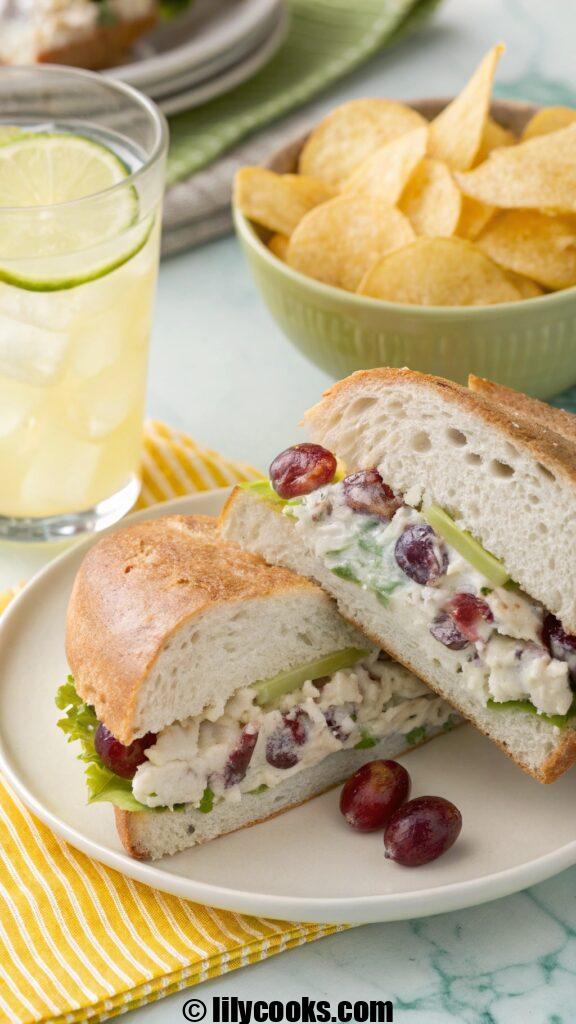
- 1/4 cup red grapes, halved (for a touch of natural sweetness)
- 2 tablespoons red onion, finely diced (for a mild, savory bite)
- 1 tablespoon fresh lemon juice (brightens the flavors and cuts through the richness)
- 1 teaspoon Dijon mustard (adds a subtle tangy depth)
- 1/4 teaspoon salt (enhances all the flavors)
- 1/4 teaspoon black pepper (for a hint of warmth)
- 8 slices of soft white or whole-grain bread (choose your favorite for the perfect sandwich base)
- 4 lettuce leaves (for freshness and crunch)
- Optional: 1/4 cup chopped pecans or almonds (for extra texture and nutty flavor)
Why These Ingredients? Fresh lemon juice is key for a vibrant, zesty flavor that lifts the dish. Mayonnaise provides the creamy backbone, while celery and grapes add contrasting textures. Dijon mustard brings a sophisticated tang, and pre-cooked chicken keeps prep effortless.
Step-by-Step Instructions
- Prepare the Chicken: If not using rotisserie chicken, cook chicken breasts by poaching or baking, then shred or dice into bite-sized pieces. Let cool to room temperature for easier mixing.
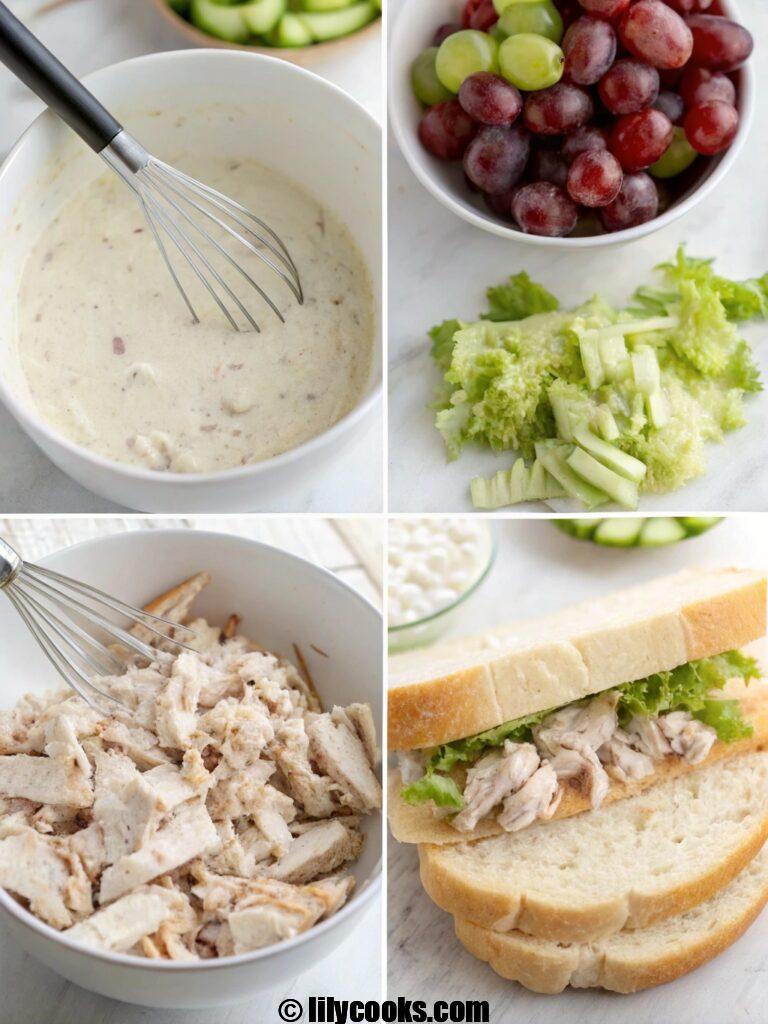
- Mix the Dressing: In a large bowl, combine mayonnaise, lemon juice, Dijon mustard, salt, and pepper. Whisk until smooth. Taste and adjust seasoning if needed—add a splash more lemon for extra zing.
- Combine Ingredients: Add shredded chicken, celery, grapes, red onion, and optional nuts to the dressing. Gently fold everything together until evenly coated. Avoid overmixing to keep the ingredients distinct.
- Assemble the Sandwiches: Lay out 4 slices of bread. Place a lettuce leaf on each, then spoon a generous portion of chicken salad (about 1/2 cup) on top. Cover with another slice of bread.
- Slice and Serve: Cut sandwiches diagonally for a classic look. Serve immediately or wrap tightly for a picnic or lunchbox.
Tips for Success
- Use room-temperature chicken to ensure the dressing blends smoothly without clumping.
- Chop ingredients uniformly for a balanced bite in every spoonful.
- Taste the chicken salad before assembling; adjust lemon or salt to suit your preference.
- For a lighter version, swap half the mayonnaise for Greek yogurt for tang and creaminess.
- Toast the bread lightly for extra structure if serving later to prevent sogginess.
Serving Suggestions
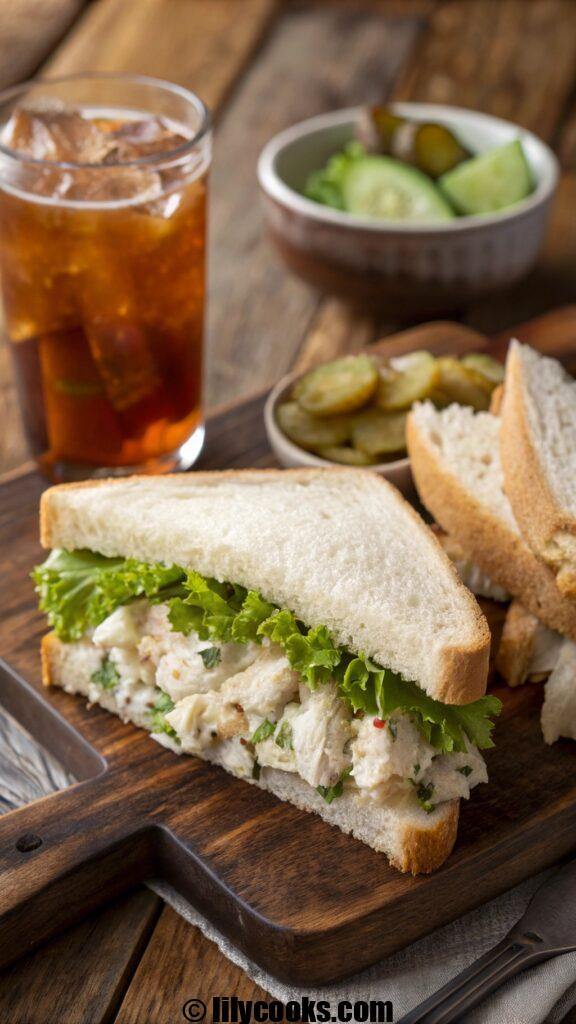
Serve your chicken salad sandwich with a side of kettle-cooked potato chips or a crisp dill pickle for classic deli vibes. Pair it with iced tea, lemonade, or a chilled white wine for a refreshing meal. For a fun twist, scoop the chicken salad into lettuce cups for a low-carb option or serve it on a croissant for a buttery indulgence. Garnish with a sprinkle of fresh parsley or a lemon wedge for a pop of color.
Storage Tips
- Room Temperature: Keep assembled sandwiches at room temperature for no more than 2 hours to maintain safety and freshness.
- Refrigeration: Store chicken salad (without bread) in an airtight container in the fridge for up to 3 days. Assemble sandwiches just before serving to avoid soggy bread.
- Freezing: Freeze the chicken salad (without lettuce or bread) in a freezer-safe container for up to 1 month. Thaw in the fridge overnight and stir before using. Bread and lettuce do not freeze well.
FAQs
Can I use canned chicken instead of fresh?
Yes, drained canned chicken works in a pinch, but fresh or rotisserie chicken offers better flavor and texture.
What can I substitute for grapes?
Try diced apples, dried cranberries, or raisins for a similar sweet crunch.
How can I make this recipe healthier?
Use Greek yogurt instead of mayonnaise, reduce the amount of dressing, and opt for whole-grain bread.
Can I make this ahead for a party?
Prepare the chicken salad up to 2 days in advance and store in the fridge. Assemble sandwiches just before serving.
Conclusion
This chicken salad sandwich is your go-to for a quick, delicious meal that’s packed with creamy, zesty goodness. It’s simple to make, endlessly customizable, and perfect for sharing with friends or family. Try it out, and let us know how it turns out—your taste buds will thank you!
chicken alfredo stuffed crescents recipe

Picture this: warm, buttery crescent rolls wrapped around creamy, cheesy chicken alfredo filling that melts in your mouth with every single bite. These chicken alfredo stuffed crescents are the kind of recipe that makes weeknight dinners feel special without hours of slaving away in the kitchen. They're crispy on the outside, gooey on the inside, and packed with all the rich, savory flavors you crave from your favorite Italian-American comfort food. We all love a quick dinner solution, but we don't want to sacrifice flavor for convenience. That's where these little pockets of heaven come in. They're perfect for busy families, game day snacking, or when you just need something delicious that comes together in no time. Trust me, once you make these, they'll become a regular rotation in your meal planning.
Ingredients
- Picture this: warm, buttery crescent rolls wrapped around creamy, cheesy chicken alfredo filling that melts in your mouth with every single bite. These chicken alfredo stuffed crescents are the kind of recipe that makes weeknight dinners feel special without hours of slaving away in the kitchen. They're crispy on the outside, gooey on the inside, and packed with all the rich, savory flavors you crave from your favorite Italian-American comfort food. We all love a quick dinner solution, but we don't want to sacrifice flavor for convenience. That's where these little pockets of heaven come in. They're perfect for busy families, game day snacking, or when you just need something delicious that comes together in no time. Trust me, once you make these, they'll become a regular rotation in your meal planning.
Instructions
Step 1: Prepare Your FillingStart by combining your shredded chicken, alfredo sauce, Parmesan cheese, mozzarella cheese, softened cream cheese, minced garlic, Italian seasoning, salt, and pepper in a medium mixing bowl. Stir everything together until well combined. The mixture should be thick and creamy - not too runny. If your filling seems too loose, add a bit more Parmesan to help bind it. Set the filling aside while you prepare your dough.
Step 2: Preheat and PrepPreheat your oven to 375°F and line a baking sheet with parchment paper. This prevents sticking and makes cleanup a breeze. If you're using parchment paper, you can skip greasing the pan entirely.
Step 3: Prepare the Crescent DoughOpen your cans of crescent roll dough and carefully unroll them. If you're using the perforated triangles, press the seams together to form a solid rectangle. For the seamless sheets, you're already good to go. Lightly dust your work surface with flour to prevent sticking, then roll out each rectangle slightly to smooth the seams and create a larger surface area.
Step 4: Cut the DoughUsing a sharp knife or pizza cutter, cut each dough rectangle into 4 equal squares. You should end up with 8 squares total. Working with squares instead of triangles makes the stuffing process much easier and gives you more room for filling.
Step 5: Fill and ShapePlace about 2 tablespoons of the chicken alfredo filling in the center of each dough square. Be careful not to overfill - you want enough to be satisfying but not so much that it bursts out during baking. Fold each square into a triangle by bringing opposite corners together, then pinch the edges firmly to seal. For extra security, crimp the edges with a fork.
Step 6: Arrange on Baking SheetPlace your stuffed crescents on the prepared baking sheet, leaving about 2 inches between each one. This allows room for them to expand and ensures even browning.
Step 7: Brush and SeasonIn a small bowl, combine the melted butter and garlic powder. Brush this mixture generously over the tops of each crescent. This step adds incredible flavor and helps achieve that beautiful golden-brown color.
Step 8: Bake to PerfectionBake for 12-15 minutes, or until the crescents are puffed up and golden brown. The filling should be bubbling slightly around the edges. Keep an eye on them during the last few minutes of baking to prevent over-browning.
Step 9: Rest and ServeLet the stuffed crescents cool on the baking sheet for about 5 minutes before serving. This allows the filling to set slightly so you don't burn your mouth on that hot, cheesy center. Garnish with fresh parsley and serve warm.