
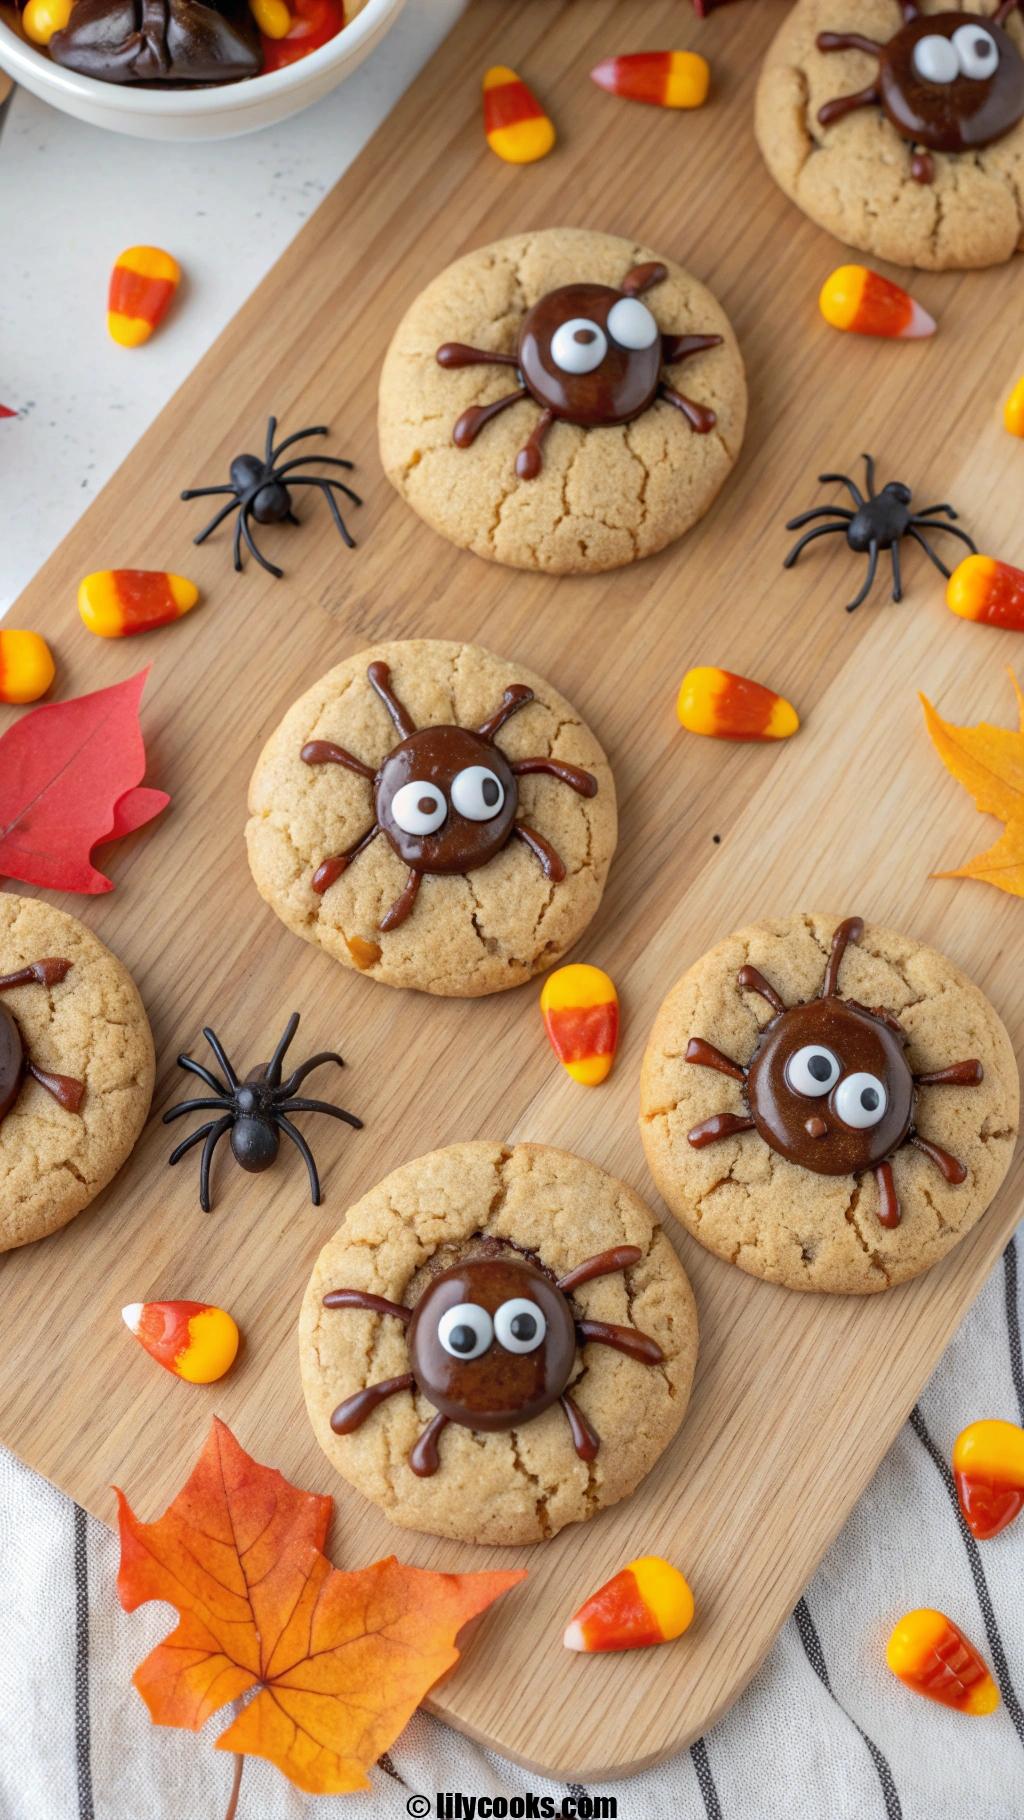
Dive into the fun of Halloween with these adorable peanut butter spider cookies that bring a touch of spooky charm to your table. Perfect for parties, family gatherings, or just treating yourself, this easy Halloween dessert combines rich peanut butter flavor with chocolate accents that kids and adults adore.
You’ll love how simple they are to make, turning basic ingredients into creepy crawly treats that scream festive fun.
Recipe Overview
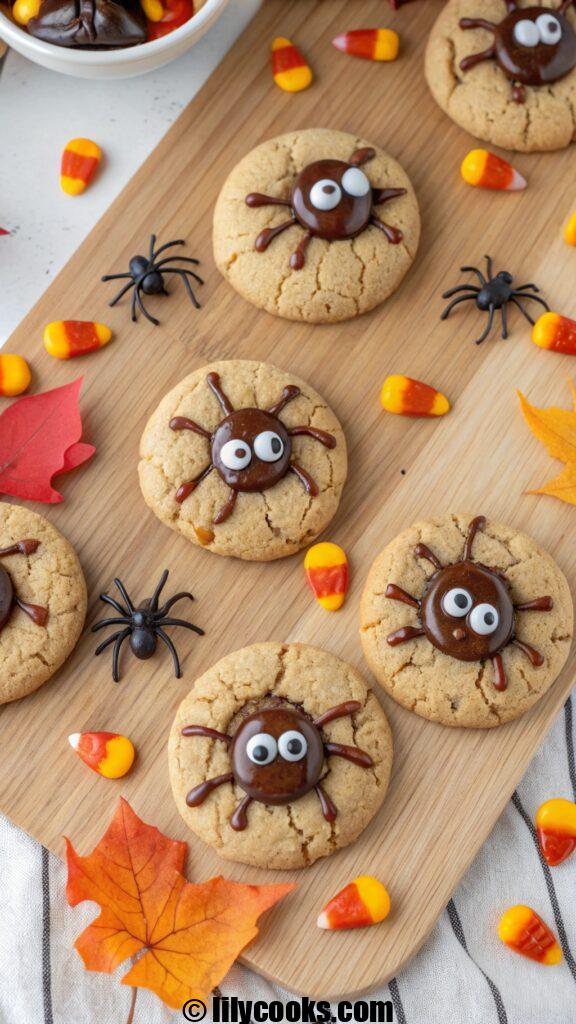
These peanut butter spider cookies offer a chewy, nutty base with a smooth chocolate body and crunchy candy eyes, creating a delightful mix of textures and tastes. Ready in under 30 minutes, this Halloween dessert recipe is beginner-friendly and uses everyday pantry staples for quick assembly.
Ingredients List
Gather these items to craft your spooky Halloween treats:
- 1/2 cup creamy peanut butter – choose smooth for that velvety texture in every bite.
- 1/2 cup unsalted butter, softened – ensures a tender crumb without overpowering saltiness.
- 1/2 cup granulated sugar – adds sweetness and helps with browning.
- 1/2 cup brown sugar, packed – brings moisture and a caramel-like depth.
- 1 large egg, at room temperature – binds everything together for fluffy results.
- 1 teaspoon vanilla extract – enhances the warm, inviting aroma.
- 1 1/4 cups all-purpose flour – the foundation for structure.
- 1/2 teaspoon baking soda – gives a slight lift for chewiness.
- 1/4 teaspoon salt – balances flavors.
- 24 mini Reese’s peanut butter cups, unwrapped – forms the spider bodies with their rich chocolate-peanut fusion.
- 1/2 cup semisweet chocolate chips, melted – for piping realistic spider legs.
- 48 small candy eyes – adds the cute yet eerie stare that makes these Halloween desserts pop.
Step-by-Step Instructions
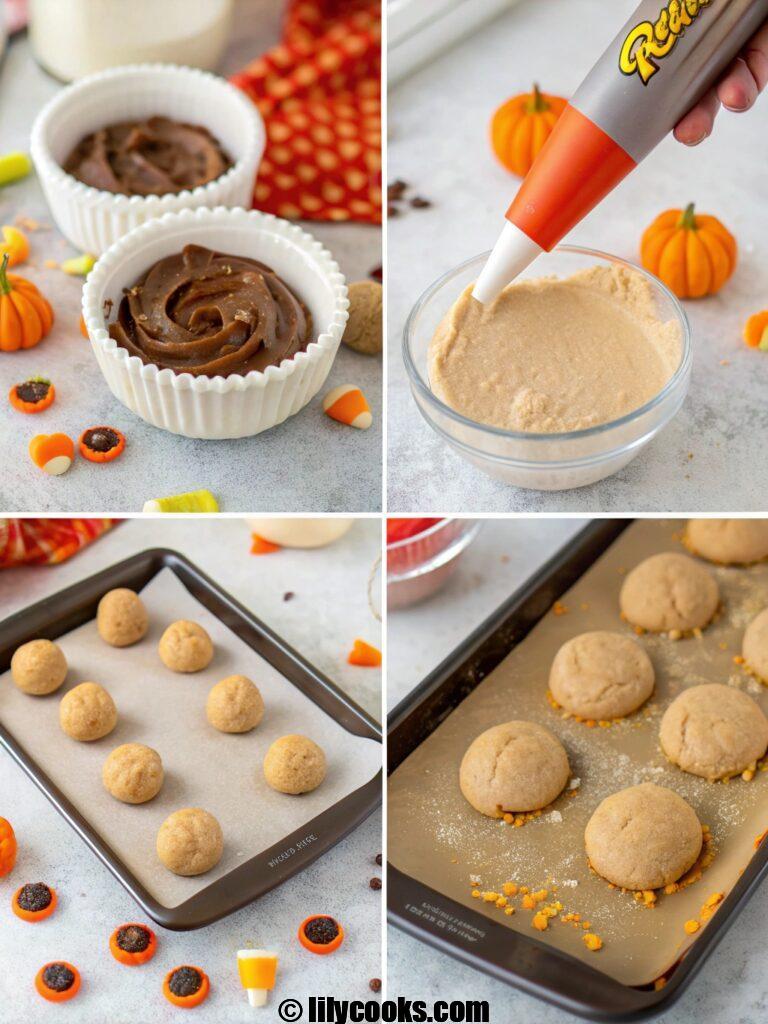
Start by preheating your oven to 350°F and lining two baking sheets with parchment paper for easy cleanup. In a large bowl, cream together the peanut butter, butter, granulated sugar, and brown sugar until light and fluffy, about 2 minutes – this step incorporates air for a soft texture. Beat in the egg and vanilla extract until fully combined, scraping down the sides as needed.
In a separate bowl, whisk the flour, baking soda, and salt, then gradually mix into the wet ingredients until just blended – avoid overmixing to keep them tender. Roll the dough into 1-inch balls and place them 2 inches apart on the sheets. Bake for 8-10 minutes until edges are golden but centers remain soft.
Remove from the oven and immediately press a mini Reese’s cup into the center of each warm cookie – the heat melts it slightly for perfect adhesion. Let cool for 5 minutes on the sheet. Melt the chocolate chips in the microwave in 30-second bursts, stirring until smooth, then transfer to a piping bag or zip-top bag with a tiny corner snipped off.
Pipe 8 legs extending from each Reese’s cup to mimic spider limbs. Gently press two candy eyes onto each chocolate body while the piped chocolate is still wet. Allow to set for 10 minutes before serving these irresistible Halloween spider cookies.
Tips for Success
For the best chewy texture, measure flour by spooning it into the cup and leveling off to prevent dense cookies. Pull them from the oven when slightly underdone – they firm up as they cool. If the dough sticks while rolling, chill it for 10 minutes. Test melt the chocolate in short intervals to avoid seizing.
Serving Suggestions

Present these peanut butter spider cookies on a black platter sprinkled with edible glitter for a haunted vibe, or nestle them in cupcake liners for individual treats. Pair with hot apple cider or pumpkin spice lattes to complement the nutty sweetness.
For extra flair, arrange them around a fog machine or with dry ice for a misty, eerie display at your Halloween bash.
Storage Tips
Keep these Halloween desserts in an airtight container at room temperature for up to 3 days to maintain chewiness. Refrigerate for a week if you prefer them firmer, though bring to room temp before eating. Freeze baked cookies without decorations in a zip-top bag for up to 2 months; thaw and add spiders fresh.
FAQs
Can I use crunchy peanut butter instead?
Yes, crunchy adds extra texture and works just as well for a nuttier bite.
What if I’m allergic to peanuts?
Swap for sunflower seed butter and use chocolate truffles instead of Reese’s for a safe alternative.
My chocolate seized – how to fix?
Stir in a teaspoon of vegetable oil to smooth it out next time.
Can I make the dough ahead?
Absolutely, refrigerate it up to 48 hours or freeze for a month before baking.
Why did my cookies spread too much?
Chill the dough first or use colder butter to control spreading.
Conclusion
Grab your apron and whip up these spooky peanut butter spider cookies – they’re sure to delight everyone. Share your creepy creations in the comments or on social media; I’d love to see your twists.
easter charcuterie board recipe

This Easter Charcuterie Board features a delightful mix of textures and tastes. Think sharp, nutty cheeses paired with silky prosciutto, the satisfying crunch of fresh radishes and snap peas, and the sweet pop of juicy berries. It's a visually stunning and incredibly easy-to-assemble recipe that requires no cooking. The true beauty lies in its simplicity and the freedom to customize with your favorite seasonal finds. Get ready to build a board that is as delicious as it is beautiful.
Ingredients
- Cheese (3-4 varieties): 8 oz wedge of Manchego (for a nutty, firm bite), 8 oz wheel of Brie or Camembert (for a creamy, decadent center), 6 oz aged Gouda (for sweet, caramel-like crystals), and 4 oz fresh mozzarella pearls (for a mild, milky contrast). The variety of textures and flavors creates an exciting tasting experience for every palate.
- Cured Meats (2-3 varieties): 4 oz Prosciutto di Parma (thinly sliced for a delicate, salty flavor), 4 oz salami (like Genoa or a spicy soppressata for a bolder, seasoned bite), and 3 oz Capicola (for a slightly spicy, fatty richness). Rolling or folding these meats adds visual dimension and makes them easy to pick up.
- Fresh Fruits & Vegetables: 1 cup strawberries (hulled and halved, for bright sweetness), 1 cup green grapes (for a burst of juicy flavor), 2 small bunches of radishes (thinly sliced for a peppery crunch), and 1 cup sugar snap peas (for a fresh, crisp snap). Seasonal produce brings vibrant color and a refreshing counterpoint to the rich meats and cheeses.
- Sweet & Savory Accompaniments: 1/2 cup honey (for drizzling over cheeses, especially brie), 1/3 cup fig jam or apricot preserves (for a sweet, fruity spread), 1/2 cup roasted almonds or honey-roasted peanuts (for a crunchy, salty-sweet element), and a few branches of fresh rosemary and thyme (for a fragrant, rustic garnish).
- Crackers & Bread: 1 box of assorted crackers (like water crackers and rosemary crisps) and 1 baguette (sliced and toasted for a sturdy, crunchy base). A variety of vessels ensures everyone can find their perfect bite.
- For the Dips: 1/2 cup whole grain mustard and 1/2 cup olive tapenade. These add a punchy, briny flavor that cuts through the richness of the cheeses and meats.
Instructions
- Choose Your Board and Bowls: Start by selecting a large wooden cutting board, a slate platter, or a marble board. The size should be proportional to the number of guests. Place small ramekins or bowls on the board for any jams, honey, or dips. This gives a natural structure to the board.
- Place the Cheese: Begin by placing your cheeses around the board, spacing them out. Place the wedge of Manchego, the wheel of Brie, the block of Gouda, and a small bowl of mozzarella pearls in different areas. This creates visual "anchor points" for your arrangement. Tip: Take the cheeses out of the fridge about 30 minutes before serving so they can come to room temperature, which enhances their flavor and texture.
- Add the Meats: Now, add the cured meats. Fold slices of prosciutto into ruffled ribbons and place them near the cheeses. Roll the salami and capicola slices into tight cylinders or fold them into triangles. Distribute these meat bundles across the board in the empty spaces.
- Incorporate Produce: Build your color palette next. Scatter the fresh strawberries and green grapes in small clusters. Tuck the sliced radishes and sugar snap peas around the board. Their bright colors will really make the board pop. Place them in different areas so there's a mix of sweet and savory in every bite.
- Fill the Gaps: This is where the board comes to life. Fill in the remaining gaps with the roasted almonds, and place the fresh herbs like rosemary sprigs here and there. Add the crackers and toasted baguette slices, fanning them out around the board's perimeter.
- The Finishing Touches: Drizzle a little honey over the brie wheel and place the fig jam and mustard in their designated bowls. Step back and assess. Are there any bare spots? Add more berries, nuts, or a few extra crackers to fill it in. The goal is a colorful, abundant, and inviting presentation that encourages people to dig in.