
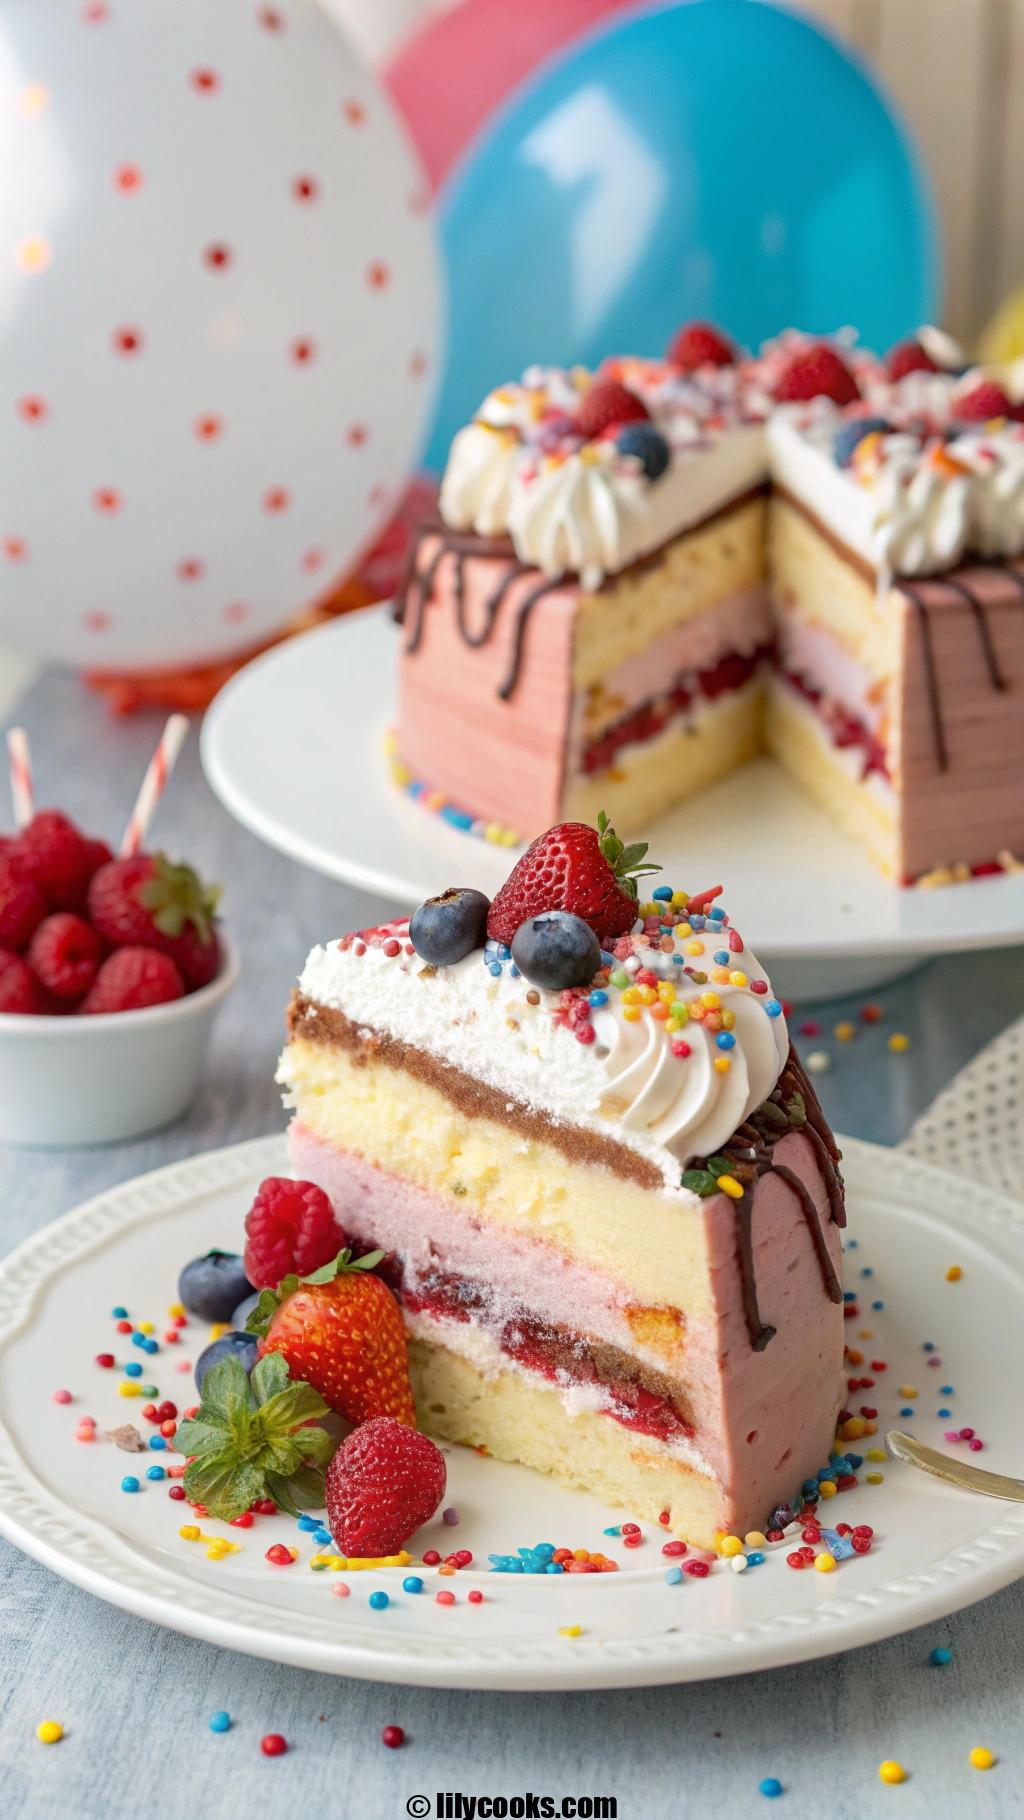
Nothing screams celebration quite like an ice cream cake! This indulgent dessert combines the creamy richness of ice cream with the soft, fluffy texture of cake, creating a show-stopping treat that’s perfect for birthdays, summer gatherings, or any day you’re craving something sweet.
This recipe is versatile, customizable, and surprisingly simple to make, ensuring everyone can enjoy a slice of frosty heaven. With layers of moist cake, velvety ice cream, and a touch of whipped cream, this dessert will have your guests swooning. Let’s dive into this chilly, delightful creation that’s as fun to make as it is to eat!
Recipe Overview
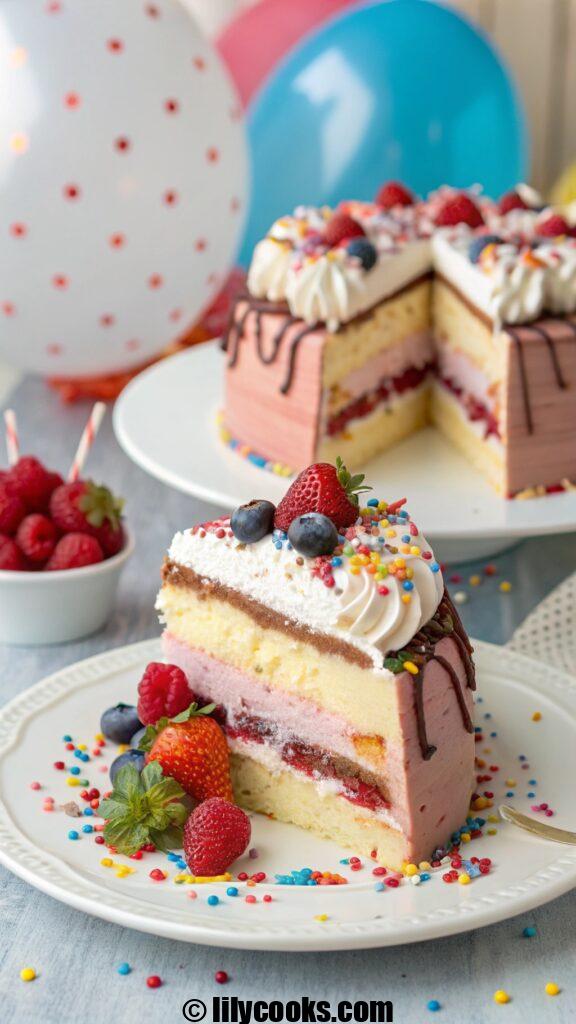
This ice cream cake boasts a perfect balance of fluffy vanilla cake, creamy ice cream, and a luscious whipped cream topping. It’s easy to assemble with minimal baking, making it ideal for beginners and seasoned bakers alike. Customize it with your favorite ice cream flavors or add-ins like chocolate chips or sprinkles for a personal touch. The result is a refreshing, melt-in-your-mouth dessert that’s sure to impress.
Preparation Time: 30 minutes
Cooking Time: 25 minutes (plus 4 hours freezing)
Total Time: About 5 hours
Servings: 10-12
Ingredients List
- For the Cake:
- 1 ½ cups all-purpose flour (spooned and leveled for a light, airy texture)
- 1 tsp baking powder (ensures the cake rises evenly)
- ¼ tsp salt (enhances flavor)
- ½ cup unsalted butter, softened (room temperature for easy creaming)
- ¾ cup granulated sugar (for sweetness and structure)
- 2 large eggs, room temperature (promotes a smooth batter)
- 1 tsp vanilla extract (adds warm, aromatic depth)
- ½ cup whole milk (keeps the cake moist)
- For the Ice Cream Layer:
- 1.5 quarts (1.4 liters) of your favorite ice cream (e.g., vanilla, chocolate, or strawberry for vibrant flavor; softened slightly for easy spreading)
- For the Whipped Cream Topping:
- 2 cups heavy whipping cream, cold (creates a stable, fluffy topping)
- ½ cup powdered sugar (for sweetness without graininess)
- 1 tsp vanilla extract (enhances the creamy flavor)
- Optional Garnishes:
- Sprinkles, chocolate shavings, or fresh berries (for color and crunch)
Why These Ingredients Matter: Using room-temperature butter and eggs ensures a smooth, well-emulsified cake batter, while high-quality ice cream guarantees a creamy, dreamy layer. Cold heavy cream whips up faster and holds its shape, making your topping look professional.
Step-by-Step Instructions
- Bake the Cake Base: Preheat your oven to 350°F (175°C). Grease an 8-inch springform pan and line the bottom with parchment paper. In a medium bowl, whisk together flour, baking powder, and salt. In a large bowl, beat butter and sugar until light and fluffy, about 2 minutes. Add eggs one at a time, mixing well, then stir in vanilla. Alternate adding flour mixture and milk, starting and ending with flour, until just combined. Pour batter into the pan and bake for 20-25 minutes, or until a toothpick comes out clean. Let cool completely.
- Prepare the Ice Cream Layer: While the cake cools, let your ice cream soften at room temperature for 10-15 minutes until spreadable but not melted. Place the cooled cake back into the springform pan. Spread the softened ice cream evenly over the cake, smoothing the top with a spatula. For a fun twist, use two flavors in layers (e.g., chocolate and vanilla). Cover with plastic wrap and freeze for at least 3 hours or until firm.
- Make the Whipped Cream Topping: In a chilled bowl, whip heavy cream, powdered sugar, and vanilla with a hand mixer until stiff peaks form, about 3-4 minutes. Be careful not to overwhip, or it’ll turn grainy. Spread or pipe the whipped cream over the frozen ice cream layer for a polished look.
- Decorate and Freeze: Add sprinkles, chocolate shavings, or fresh berries for flair. Cover loosely and freeze for another hour to set the topping.
- Serve: Remove the cake from the springform pan and let it sit at room temperature for 5-10 minutes for easier slicing. Use a warm knife (run under hot water and dry) for clean cuts.

Tips for Success
- Choose Quality Ice Cream: Opt for premium ice cream for a richer flavor and smoother texture. Avoid low-fat versions, as they can become icy when frozen.
- Don’t Rush Cooling: Ensure the cake is completely cool before adding ice cream to prevent melting.
- Work Quickly: Spread the ice cream fast to avoid a soupy mess. Keep your kitchen cool if possible.
- Clean Slices: Dip your knife in hot water and wipe it dry between cuts for picture-perfect slices.
- Customize Freely: Swap in flavors like mint chocolate chip or cookies and cream, or add crushed cookies between layers for extra crunch.
Serving Suggestions
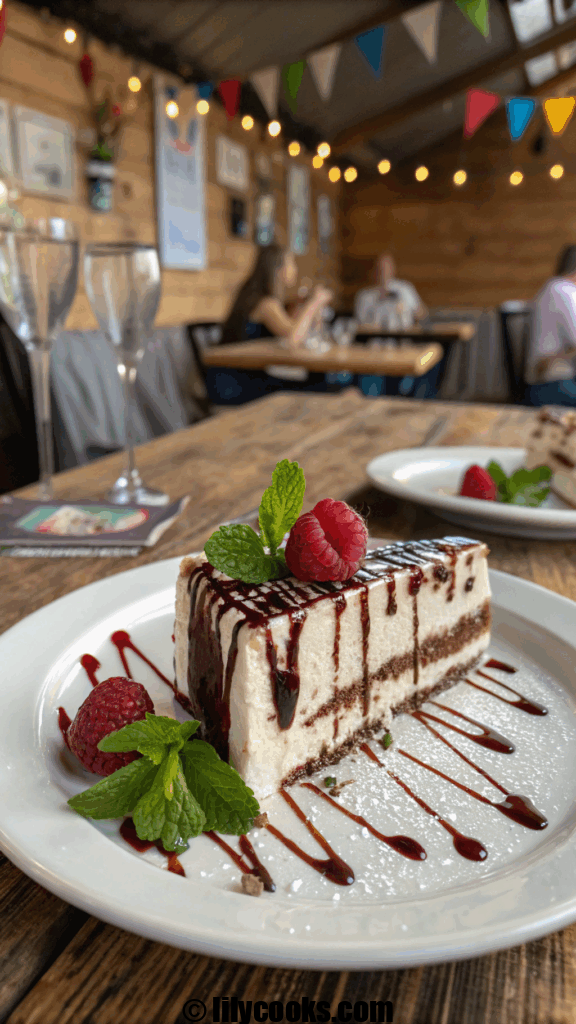
Serve this ice cream cake as the star of your next party! Pair it with a drizzle of warm chocolate sauce or caramel for extra decadence. For a refreshing contrast, offer fresh fruit like raspberries or sliced strawberries on the side. Present slices on chilled plates with a sprig of mint for a pop of color. This cake shines at birthdays, barbecues, or even cozy movie nights—any occasion feels special with this frosty treat.
Storage Tips
- Room Temperature: Not recommended, as the ice cream will melt quickly.
- Refrigeration: Store in the fridge for up to 30 minutes if softening for serving.
- Freezing: Wrap tightly in plastic wrap and foil, or store in an airtight container, and freeze for up to 1 month. Add whipped toppings just before serving to maintain their fluffiness.
FAQs
Can I use store-bought cake mix instead of homemade?
Yes! A boxed vanilla or chocolate cake mix works fine. Follow the package instructions and bake in an 8-inch springform pan for best results.
Can I make this dairy-free?
Absolutely! Use dairy-free ice cream and coconut milk-based whipped cream. Swap butter for vegan margarine and use plant-based milk in the cake.
How do I prevent the ice cream from melting while assembling?
Work in a cool kitchen and chill your tools (spatula, bowl) in the freezer beforehand. Freeze the cake immediately after adding the ice cream layer.
Can I make this ahead of time?
Yes! Assemble the cake up to a week in advance, but add whipped cream and garnishes just before serving for the freshest look.
What if my whipped cream won’t stiffen?
Ensure your cream is cold and your bowl is chilled. Avoid overwhipping, which can cause it to curdle. If it’s still soft, add a tablespoon of powdered sugar and whip briefly.
Conclusion
This ice cream cake is your ticket to a crowd-pleasing dessert that’s as fun to make as it is to eat. With its creamy layers and endless flavor possibilities, it’s a recipe you’ll return to again and again.
Grab your favorite ice cream, whip up this treat, and share the joy with friends and family. We’d love to hear how it turns out—tag us with your creations!
gingerbread cookies easy holiday treats

These gingerbread cookies easy holiday treats come together in about 2 hours total, including chilling time. You'll get approximately 24-30 medium-sized cookies depending on your cutter size. The dough is a dream to work with – not too sticky, not too crumbly – and rolls out like a charm. The flavor profile hits all the right notes: deep molasses richness, bright ginger warmth, and subtle hints of cinnamon and cloves that dance on your tongue. The texture strikes that perfect balance between chewy and crisp, making these cookies ideal for decorating or enjoying as-is.
Ingredients
- 3 cups all-purpose flour (spooned and leveled for accurate measuring)
- 1 teaspoon baking soda (ensures proper rise and tender texture)
- 1 teaspoon baking soda (ensures proper rise and tender texture)
- 2 teaspoons ground ginger (the star of the show – use fresh, high-quality spice)
- 2 teaspoons ground ginger (the star of the show – use fresh, high-quality spice)
- 1 teaspoon ground cinnamon (adds warm, sweet-spicy depth)
- 1 teaspoon ground cinnamon (adds warm, sweet-spicy depth)
- ¼ teaspoon ground cloves (just a hint for that authentic gingerbread flavor)
- ¼ teaspoon ground cloves (just a hint for that authentic gingerbread flavor)
- ¼ teaspoon salt (enhances all the flavors and balances sweetness)
- ¼ teaspoon salt (enhances all the flavors and balances sweetness)
- ¾ cup unsalted butter, softened to room temperature (creates that perfect tender crumb)
- ¾ cup unsalted butter, softened to room temperature (creates that perfect tender crumb)
- ¾ cup packed dark brown sugar (adds moisture and deep molasses notes)
- ¾ cup packed dark brown sugar (adds moisture and deep molasses notes)
- ½ cup molasses (unsulphured for the richest, most authentic flavor)
- ½ cup molasses (unsulphured for the richest, most authentic flavor)
- 1 large egg, at room temperature (binds everything together beautifully)
- 1 large egg, at room temperature (binds everything together beautifully)
- 1 teaspoon vanilla extract (rounds out the spice flavors)
- 1 teaspoon vanilla extract (rounds out the spice flavors)
- 1 teaspoon grated fresh ginger (optional but adds incredible brightness)
- 1 teaspoon grated fresh ginger (optional but adds incredible brightness)
- For the Royal Icing (Optional):
- For the Royal Icing (Optional):
- 2 cups powdered sugar, sifted
- 2 cups powdered sugar, sifted
- 2 tablespoons meringue powder
- 2 tablespoons meringue powder
- 4-6 tablespoons warm water
- 4-6 tablespoons warm water
- Food coloring as desired
- Food coloring as desired
Instructions
Step 1: Mix the Dry IngredientsIn a medium bowl, whisk together the flour, baking soda, ground ginger, cinnamon, cloves, and salt. This ensures all those wonderful spices are evenly distributed throughout your dough, so every bite bursts with flavor. Set this bowl aside while you prepare the wet ingredients.
Step 2: Cream the Butter and SugarIn a large mixing bowl, beat the softened butter and brown sugar together until light and fluffy – about 2-3 minutes with an electric mixer. The mixture should look pale and creamy. This step is crucial because creaming incorporates air that helps your gingerbread cookies easy holiday treats achieve that perfect texture.
Step 3: Add Wet IngredientsBeat in the molasses, egg, vanilla extract, and fresh ginger (if using) until everything is well combined. The mixture might look slightly curdled at this point, but don't worry – that's completely normal and will come together when you add the flour.
Step 4: Combine Wet and DryGradually add the dry flour mixture to the wet ingredients, mixing on low speed just until incorporated. Stop as soon as you no longer see streaks of flour. Overmixing at this stage develops gluten, which leads to tough cookies instead of tender ones.
Step 5: Chill the DoughDivide the dough into two equal portions, flatten each into a disk about 1 inch thick, wrap in plastic wrap, and refrigerate for at least 1 hour. Chilling is non-negotiable for gingerbread cookies – it solidifies the butter, prevents spreading during baking, and makes the dough much easier to roll out.
Step 6: Roll and CutPreheat your oven to 350°F (175°C). Line two baking sheets with parchment paper. On a lightly floured surface, roll out one disk of dough to about ¼-inch thickness. Use your favorite cookie cutters to create festive shapes, placing them about 1 inch apart on the prepared baking sheets. Re-roll scraps as needed.
Step 7: Bake to PerfectionBake for 8-10 minutes, rotating the pans halfway through for even baking. The cookies are done when the edges are just set and slightly darker than the centers. They'll look slightly underdone in the middle – that's exactly what you want! They'll continue cooking slightly as they cool on the baking sheet.
Step 8: Cool CompletelyLet the cookies rest on the baking sheet for 5 minutes before transferring to a wire rack to cool completely. Don't rush this step – warm cookies will melt your royal icing if you decorate them too soon.