
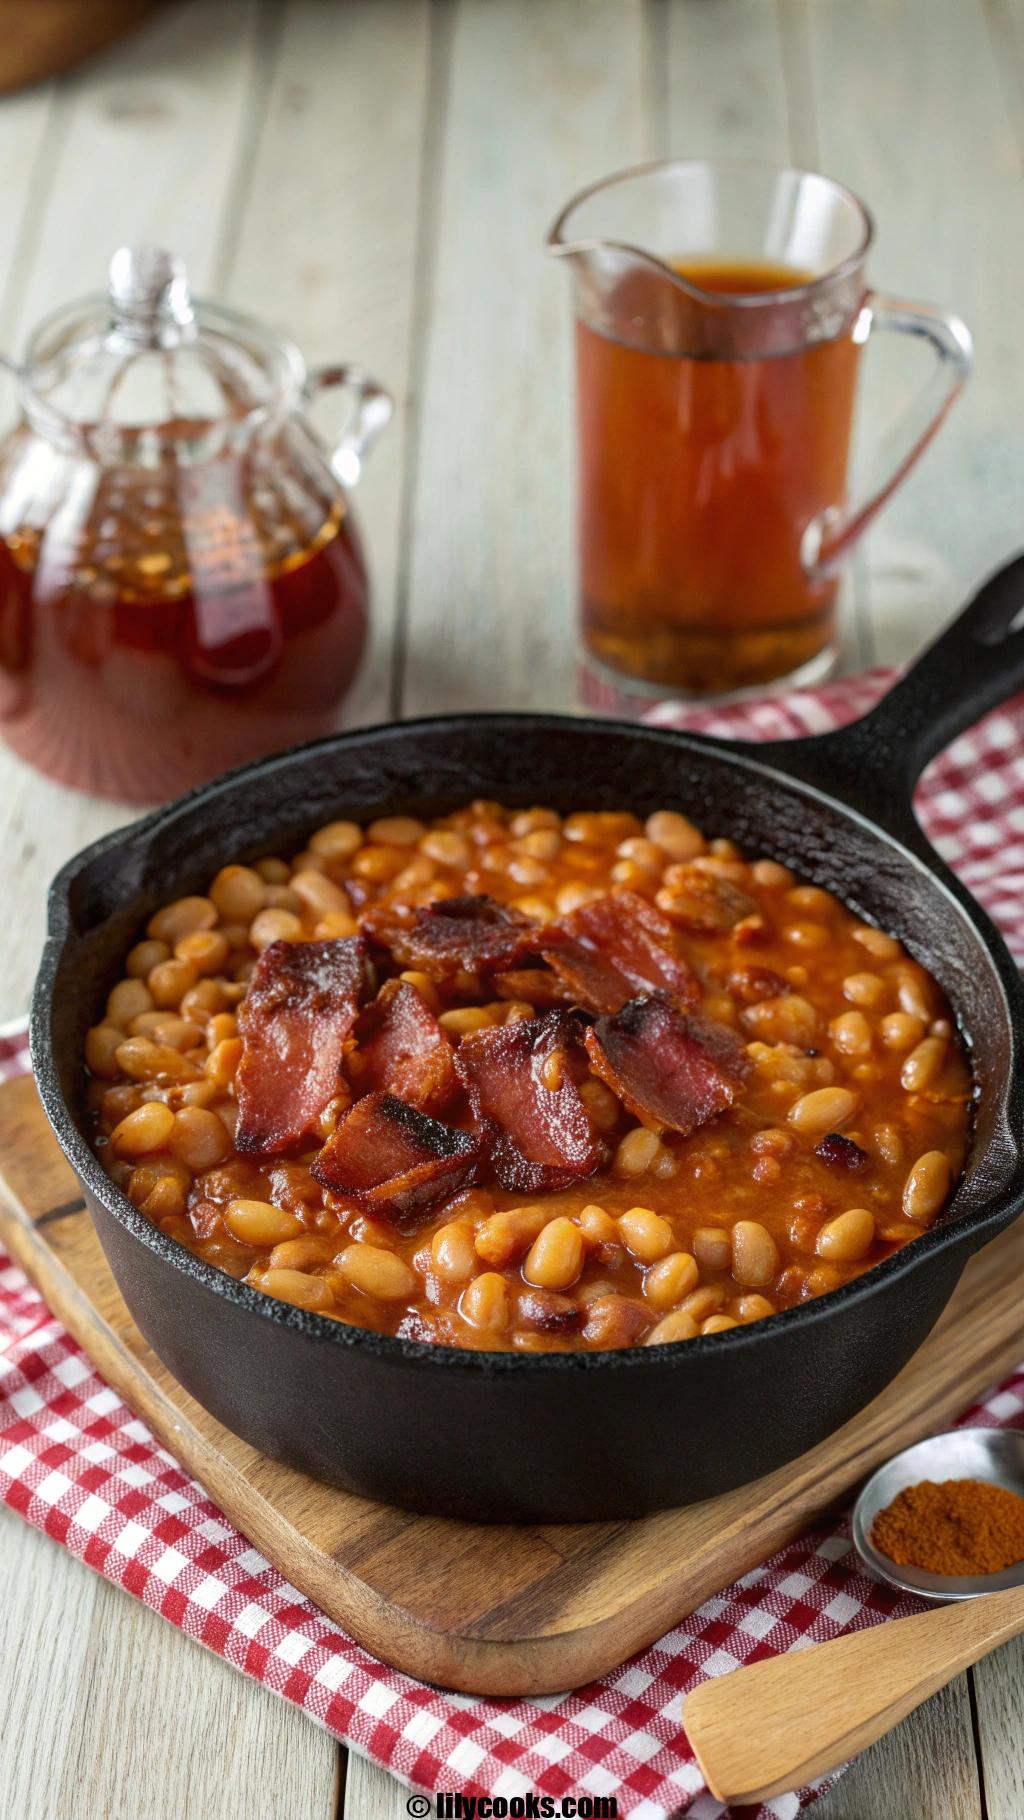
Get ready to savor the ultimate comfort food with this homestyle baked beans recipe! Packed with rich, smoky flavor and a touch of sweetness, these beans are perfect for barbecues, potlucks, or cozy family dinners.
Easy to make and endlessly versatile, this dish will fill your kitchen with irresistible aromas and win over every crowd. Let’s dive into this hearty, soul-warming recipe!
Recipe Overview
Preparation Time: 15 minutes
Cooking Time: 2 hours
Total Time: 2 hours 15 minutes
Servings: 6-8
Ingredients List
- 4 cups cooked navy beans (or 2 15-oz cans, drained and rinsed): Navy beans hold their shape and soak up flavors beautifully.
- 6 slices bacon, chopped: Adds smoky, savory depth; optional but highly recommended.
- 1 medium onion, finely diced: Brings sweet, caramelized flavor to balance the sauce.
- 2 garlic cloves, minced: Infuses the dish with warm, aromatic notes.
- 1/2 cup molasses: Provides rich, deep sweetness and a glossy texture.
- 1/4 cup brown sugar: Enhances sweetness and adds a caramel-like richness.
- 1/4 cup ketchup: Adds tangy, tomatoey depth to the sauce.
- 2 tbsp Dijon mustard: Brings a subtle, sharp kick to balance sweetness.
- 1 tbsp apple cider vinegar: Brightens the flavors with a slight tangy edge.
- 1 tsp smoked paprika: Boosts the smoky flavor, tying all ingredients together.
- 1/2 tsp black pepper: Adds a mild, spicy warmth.
- 1/2 tsp salt: Enhances all flavors; adjust to taste.
- 1 cup water or chicken broth: Thins the sauce for perfect consistency.
- Optional: 1/4 tsp cayenne pepper: For a gentle heat boost, if desired.
Note: Molasses is key for authentic flavor and color—don’t skip it! Canned beans save time, but cooked-from-scratch beans add extra texture.
Step-by-Step Instructions

- Cook the Bacon: In a large oven-safe skillet or Dutch oven, cook chopped bacon over medium heat until crispy, about 5-7 minutes. Remove with a slotted spoon and set aside, leaving the bacon fat in the pan. Tip: Don’t overcook; crispy but not burnt bacon adds the best flavor.
- Sauté Aromatics: Add diced onion to the bacon fat and cook for 5 minutes until soft and golden. Stir in minced garlic and cook for 1 minute until fragrant. Tip: Scrape up any browned bits for extra flavor.
- Make the Sauce: In a bowl, whisk together molasses, brown sugar, ketchup, Dijon mustard, apple cider vinegar, smoked paprika, black pepper, salt, and water (or broth). Pour over the onions and garlic in the skillet. Tip: Taste the sauce before adding beans to adjust sweetness or tang.
- Combine Beans: Add cooked navy beans and half the bacon to the skillet, stirring to coat evenly with the sauce. Bring to a simmer over medium heat. Tip: If using canned beans, rinse well to remove excess sodium.
- Bake the Beans: Preheat oven to 325°F (165°C). Cover the skillet with a lid or foil and bake for 1.5 hours. Uncover, stir, and bake for another 20-30 minutes until the sauce is thick and sticky. Tip: Stir halfway through to ensure even cooking.
- Finish and Serve: Remove from oven, sprinkle with remaining bacon, and let rest for 5 minutes. Serve hot, garnished with fresh parsley if desired. Tip: A quick stir before serving blends the flavors perfectly.
Tips for Success
- Balance Sweetness: Taste the sauce before baking; add more vinegar for tang or molasses for sweetness if needed.
- Use Low Heat: Slow baking at 325°F prevents the beans from drying out and ensures a thick sauce.
- Crispy Bacon: Cook bacon until just crispy to avoid chewy bits in the final dish.
- Check Consistency: If the sauce is too thick, add a splash of water; if too thin, bake uncovered longer.
- Soak Dry Beans: If using dry beans, soak overnight and cook until tender before using to save time.
Serving Suggestions

Storage Tips
- Room Temperature: Cool beans to room temperature (within 2 hours) before storing to prevent spoilage.
- Refrigeration: Store in an airtight container in the fridge for up to 5 days. Reheat gently on the stove or microwave, adding a splash of water if needed.
- Freezing: Freeze in airtight containers for up to 3 months. Thaw overnight in the fridge and reheat slowly to maintain texture. Tip: Portion into smaller containers for easy reheating.
FAQs
Can I use different beans?
Yes, pinto or Great Northern beans work well, but navy beans are traditional for their creamy texture.
Can I make this vegetarian?
Omit bacon, use vegetable broth, and add 1 tbsp olive oil for sautéing. Increase smoked paprika for smokiness.
How do I make it in a slow cooker?
Sauté bacon and onions, then combine all ingredients in a slow cooker. Cook on low for 6-8 hours.
Can I reduce the sweetness?
Cut molasses or brown sugar by half and add more vinegar or mustard for a tangier profile.
What if my beans are too watery?
Uncover and simmer on the stove for 10-15 minutes to thicken the sauce before serving.
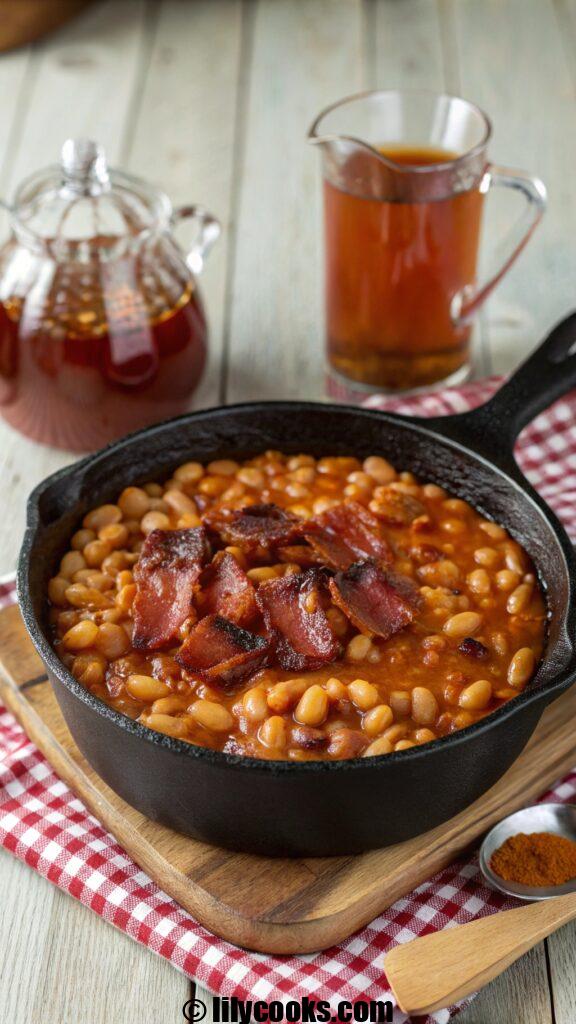
Conclusion
These homestyle baked beans are a crowd-pleasing dish that’s smoky, sweet, and oh-so-satisfying. Perfect for any occasion, they’re sure to become a staple in your recipe lineup. Grab your skillet and whip up this classic today—share your creations in the comments or on social media. We can’t wait to hear how they turn out!
Delicious crispy garlic chicken fried rice

This recipe delivers a perfect balance of textures and flavors. The chicken is coated in a light, crispy batter and fried until golden, then tossed with fragrant garlic, day-old rice, and a medley of vegetables. The entire dish comes together in under 30 minutes, making it an ideal choice for a busy evening. It is a complete meal in one pan, bursting with savory, umami notes and a delightful crunch in every bite.
Ingredients
- 1 lb boneless, skinless chicken thighs, cut into bite-sized pieces: Thighs stay juicy and tender during frying.
- 1 lb boneless, skinless chicken thighs, cut into bite-sized pieces: Thighs stay juicy and tender during frying.
- 1/2 cup cornstarch: Creates the light, crispy coating that turns golden and crunchy.
- 1/2 cup cornstarch: Creates the light, crispy coating that turns golden and crunchy.
- 1/2 teaspoon salt
- 1/2 teaspoon salt
- 1/4 teaspoon black pepper
- 1/4 teaspoon black pepper
- 1/4 teaspoon garlic powder: Adds an extra layer of savory flavor to the chicken itself.
- 1/4 teaspoon garlic powder: Adds an extra layer of savory flavor to the chicken itself.
- Vegetable or canola oil, for frying
- Vegetable or canola oil, for frying
- For the Fried Rice:
- For the Fried Rice:
- 3 tablespoons vegetable oil
- 3 tablespoons vegetable oil
- 6 cloves garlic, minced: Fresh garlic is non-negotiable for that punchy, aromatic base.
- 6 cloves garlic, minced: Fresh garlic is non-negotiable for that punchy, aromatic base.
- 1 small onion, diced
- 1 small onion, diced
- 1 cup frozen peas and carrots, thawed: Adds color, sweetness, and texture.
- 1 cup frozen peas and carrots, thawed: Adds color, sweetness, and texture.
- 4 cups cooked and chilled day-old jasmine rice: Cold rice is firm and less sticky, which is essential for perfect fried rice.
- 4 cups cooked and chilled day-old jasmine rice: Cold rice is firm and less sticky, which is essential for perfect fried rice.
- 3 tablespoons soy sauce (or tamari for gluten-free)
- 3 tablespoons soy sauce (or tamari for gluten-free)
- 1 tablespoon oyster sauce (optional, but adds deep umami)
- 1 tablespoon oyster sauce (optional, but adds deep umami)
- 2 large eggs, lightly beaten: Room-temperature eggs mix more evenly into the hot rice.
- 2 large eggs, lightly beaten: Room-temperature eggs mix more evenly into the hot rice.
- 2 green onions, thinly sliced, for garnish
- 2 green onions, thinly sliced, for garnish
Instructions
- Prepare the Chicken: In a medium bowl, combine the chicken pieces, cornstarch, salt, pepper, and garlic powder. Toss well to ensure each piece is evenly coated. This thin layer of cornstarch is the secret to that irresistible crispy exterior.
- Fry the Chicken: Heat about 1/2 inch of oil in a large skillet or wok over medium-high heat until shimmering. Carefully add the chicken pieces in a single layer, working in batches to avoid overcrowding. Fry for 3-4 minutes per side, until golden brown and cooked through. Use a slotted spoon to transfer the crispy chicken to a plate lined with paper towels.
- Sauté the Aromatics: Drain the excess oil from the skillet, leaving about 1-2 tablespoons. Return the skillet to medium-high heat. Add the minced garlic and diced onion, sautéing for about a minute until fragrant and the onion becomes translucent. The aroma at this stage will fill your kitchen with the promise of a delicious meal.
- Add the Vegetables: Stir in the thawed peas and carrots, cooking for another 1-2 minutes until they are heated through.
- Scramble the Eggs: Push the vegetable mixture to one side of the skillet. Pour the beaten eggs into the empty space and scramble them until they are just set. This technique keeps the eggs fluffy and distinct in the final dish.
- Combine and Season: Add the chilled rice to the skillet, breaking up any clumps with a spatula. Pour the soy sauce and oyster sauce (if using) over the rice and stir-fry everything together for 2-3 minutes, ensuring the rice is well-coated and heated through.
- Finish and Serve: Gently fold the crispy fried chicken back into the rice. Toss everything together just until combined, being careful not to break up the chicken too much. Garnish with fresh green onions and serve immediately.